User Guide of iMyFone LockWiper
Did you forget your Apple ID/iCloud account, iPhone screen passcode or the Screen Time passcode? Or was your iOS devices locked by MDM? Don’t worry! iMyFone LockWiper can help you bypass the issues of Apple ID/iCloud account, screen passcode, Screen Time passcode, and MDM lock since it has four great modes. Just follow the guide and let LockWiper do the job for you.
Part 1: Unlock Apple ID
Video Tutorial:
Step 1: Launch iMyFone LockWiper
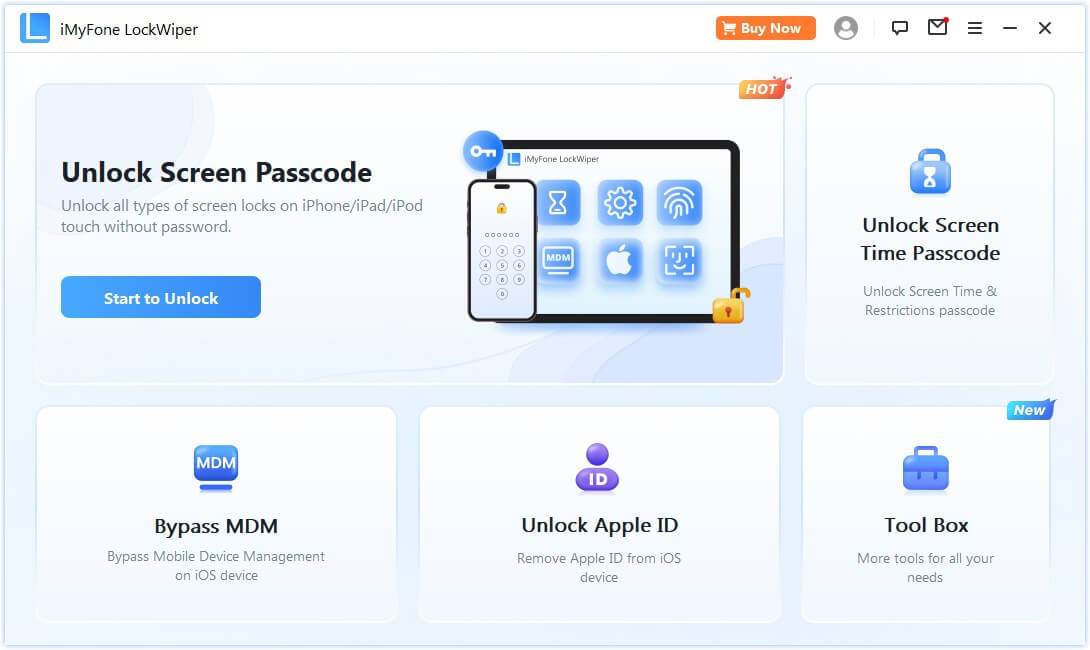
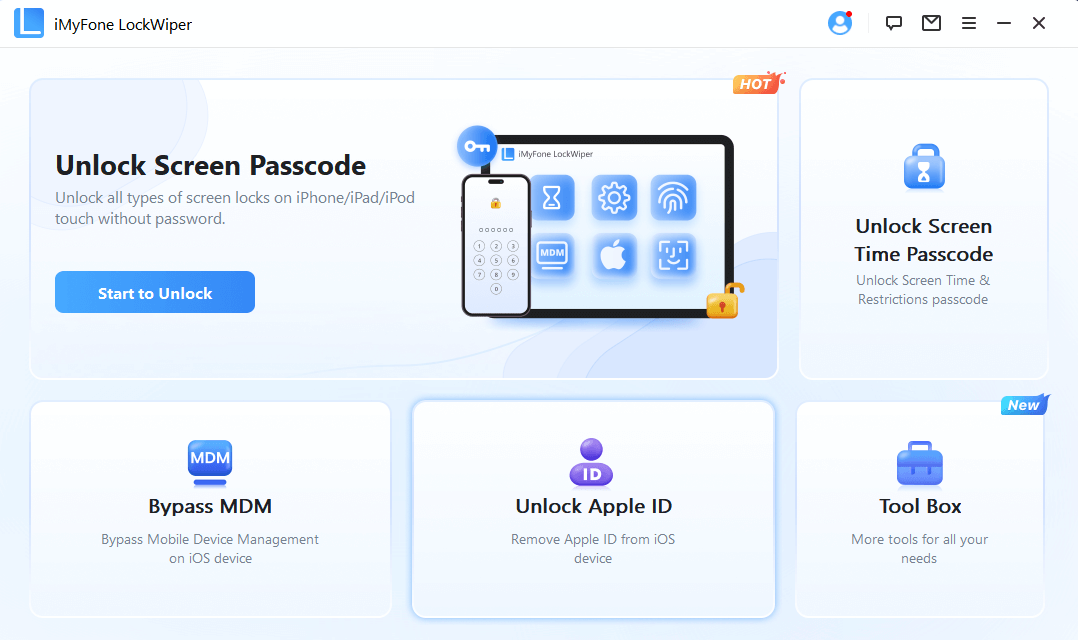
Launch iMyFone LockWiper on your computer, and choose the "Unlock Apple ID" mode.
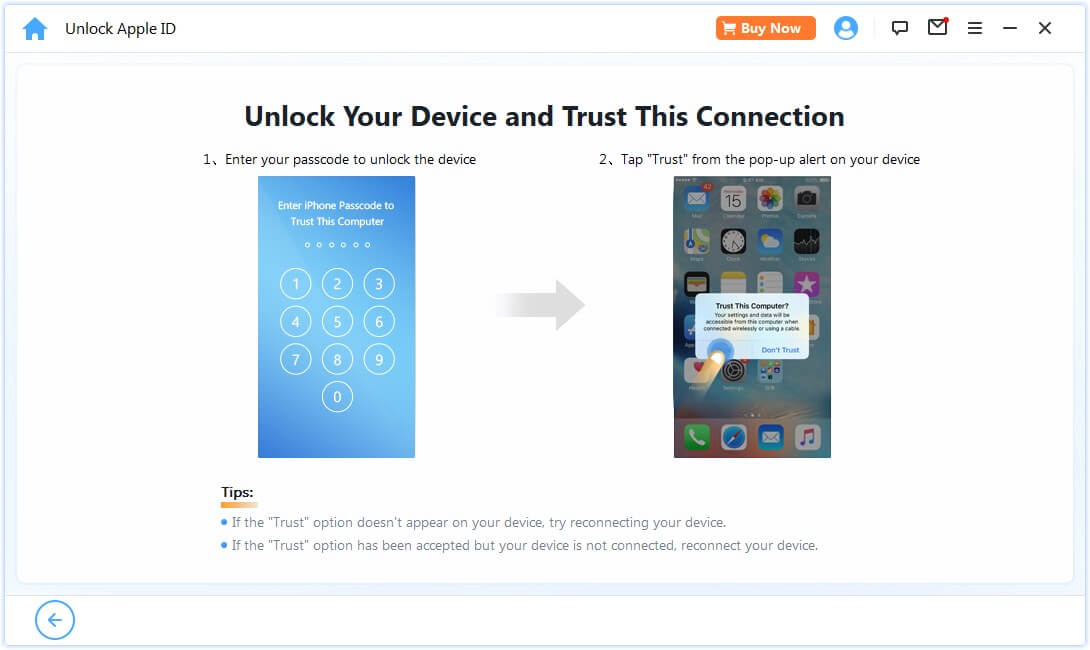
Connect your iOS device to the computer, unlock the iOS device screen, and select "Trust" from your iPhone screen if you have not trusted the computer in the past.
Step 2: Unlock Apple ID
Situation 1: If Find My iPhone is Disabled (All iOS versions are supported)
Situation 2: If Find My iPhone is Enabled (Below iOS 11.4 are supported)
Situation 3: If Two-Factor Authentication is Enabled (iOS 11.4 and above are supported)
Click "Start to Unlock" tab to remove the Apple ID and iCloud account presently associated to your iPhone, iPad or iPod touch.
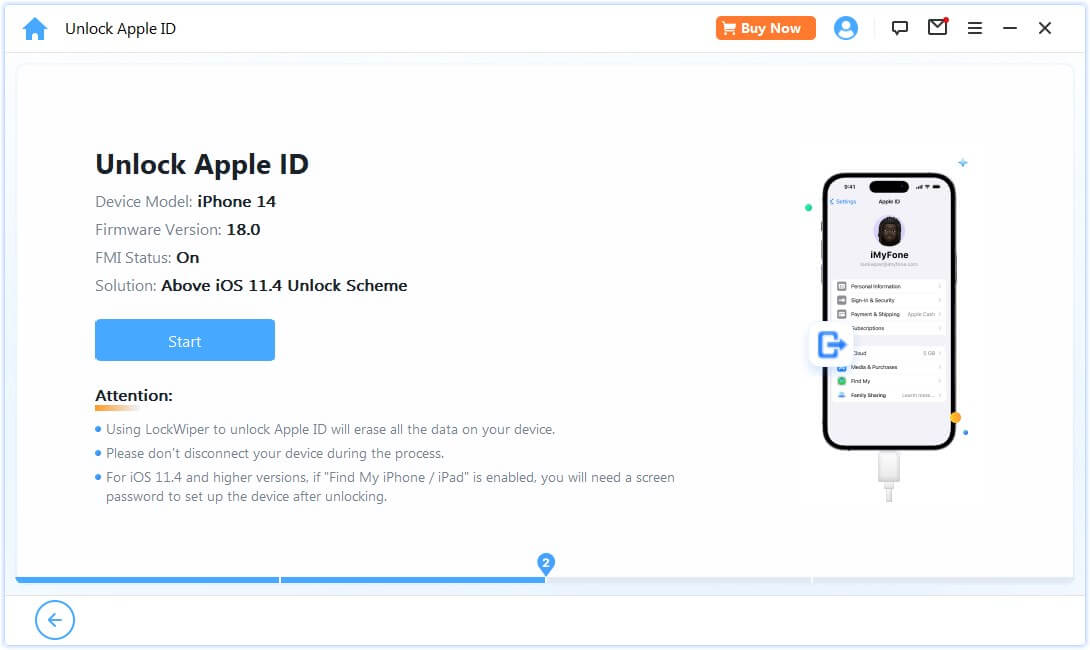
Situation 1: If Find My iPhone is Disabled (All iOS versions are supported)
If Find My iPhone is disabled on the iOS device, LockWiper will immediately start to unlock your device.
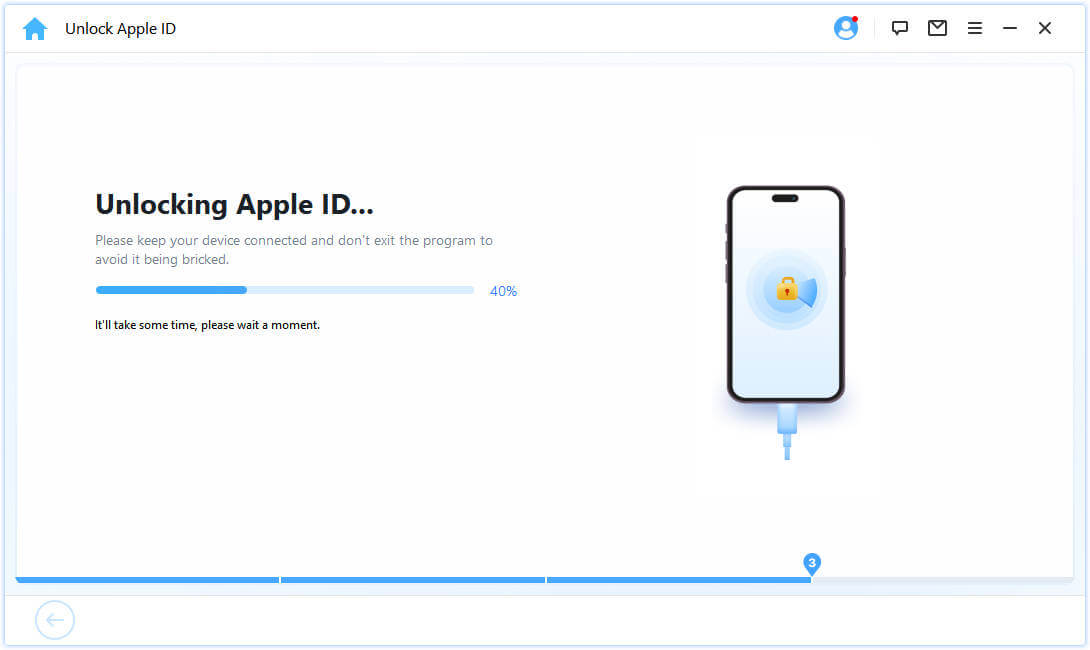
It will take a few seconds, please wait for LockWiper to unlock your device.
Situation 2: If Find My iPhone is Enabled (Below iOS 11.4 are supported)
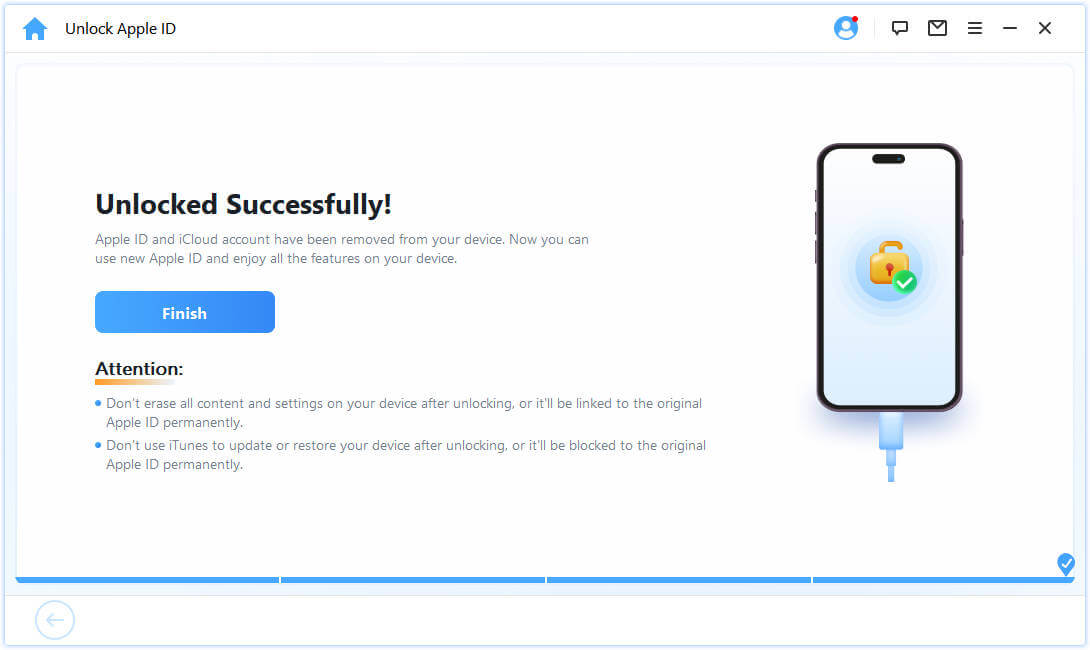
If Find My iPhone is enabled on the device, you will need to reset all settings on your iOS device. To reset all settings, please go to "Settings > General > Reset All Settings". Immediately you confirm to reset all settings, your iOS device will restart, and at the end, LockWiper will start to unlock your Apple ID and iCloud account.
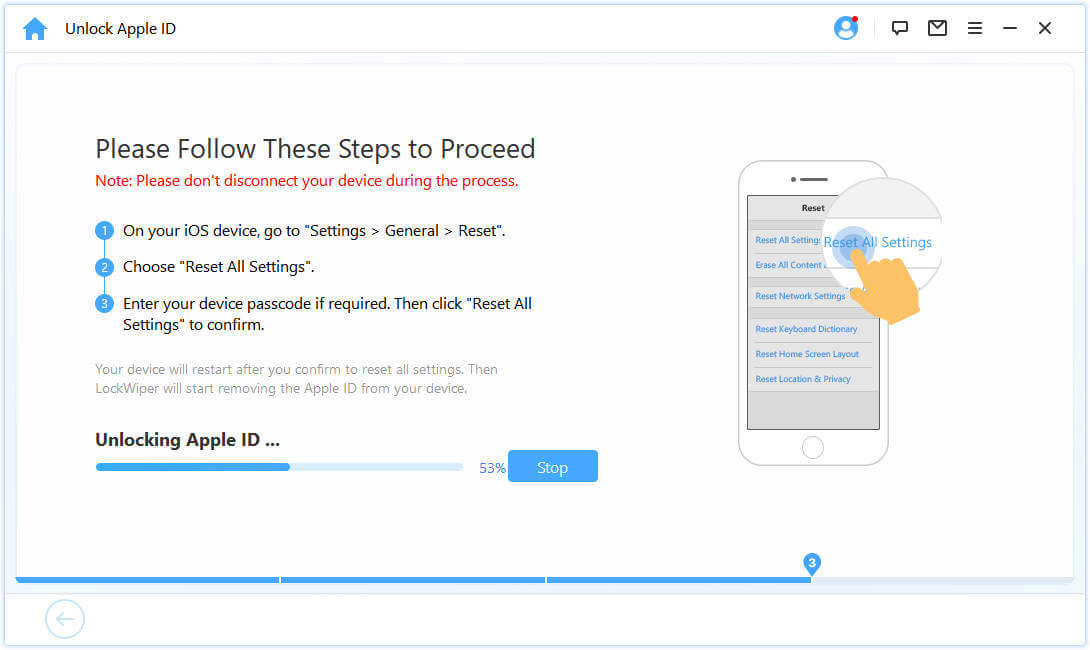
Once the process is complete, the Apple ID and iCloud account will no longer be registered in the device; you can now set up your device with a different Apple ID or create a new one.

Situation 3: If Two-Factor Authentication is Enabled (iOS 11.4 and above are supported)
Step 1: Check & Confirm Device Status
Make sure the Screen Passcode and Two-Factor Authentication are turned on.
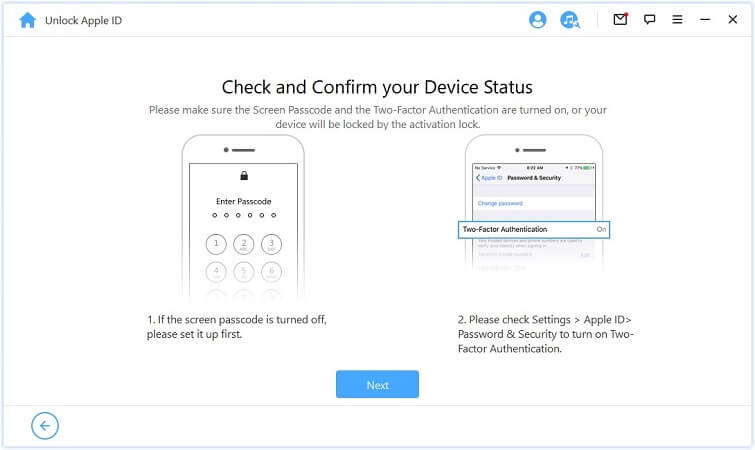
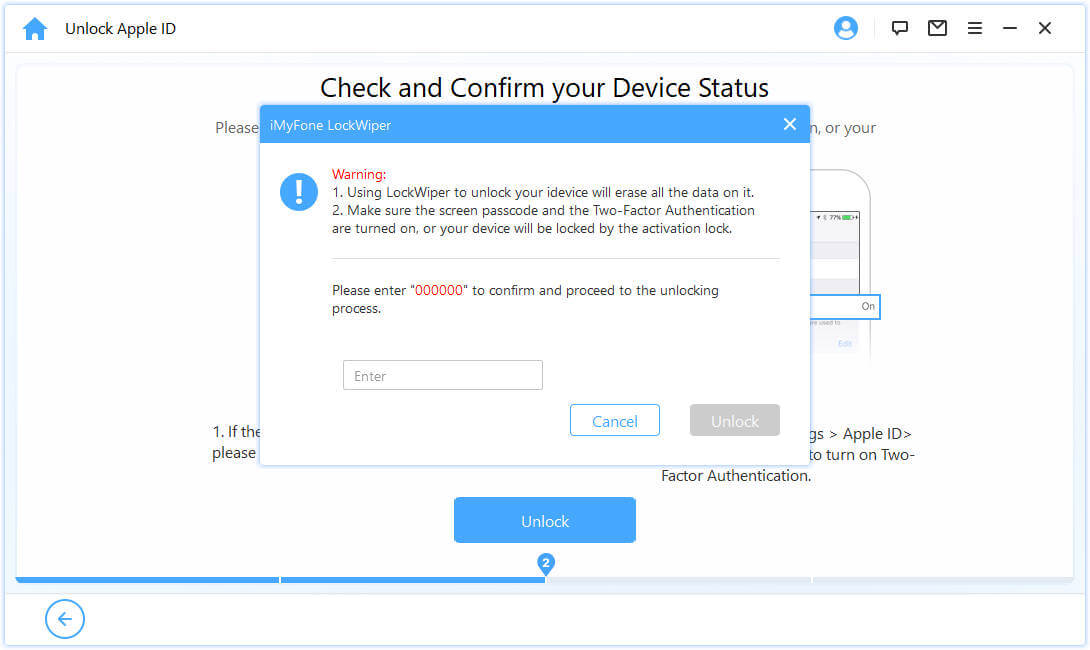
If everything is settled, just hit on "Next". Afterwards, there will be a pop-up window asking you to double confirm. Enter "000000" and click "Unlock" to proceed.
Step 2. Unlock and Set up Your Device
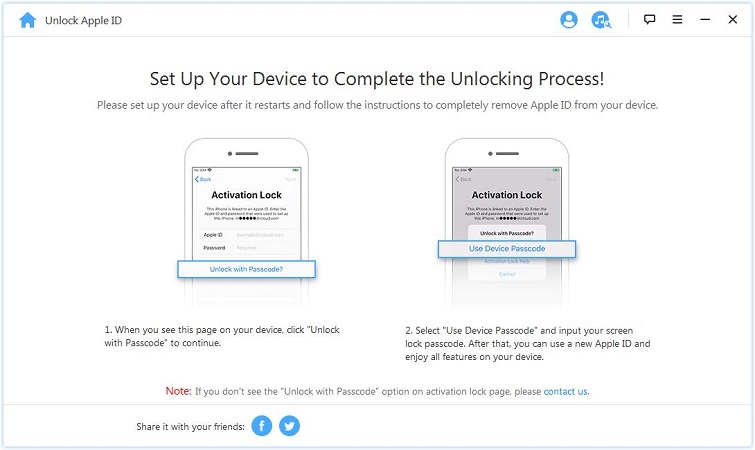
After you hit "Unlock", LockWiper will start to unlock your iPhone and it will restart immediately. Please set up your device after it restarts.

Click "Unlock with Password" when the page appears. Then select "Use Device Passcode" and input your screen passcode. After that, you can use a new Apple ID and enjoy all features on your device.
Part 2: Unlock iPhone Screen Lock
Forgot your iPhone passcode? Or it is disabled as you entered the wrong passcode so many times? iMyFone LockWiper can help you easily and quickly unlock iPhone/iPad without a passcode. It can remove all types of screen lock without any hassle!
Video Tutorial:
Step 1. Connect the Device and Enter Recovery Mode
Launch LockWiper and select "Unlock Screen Passcode" mode.Click "Start to Unlock" to begin the process.
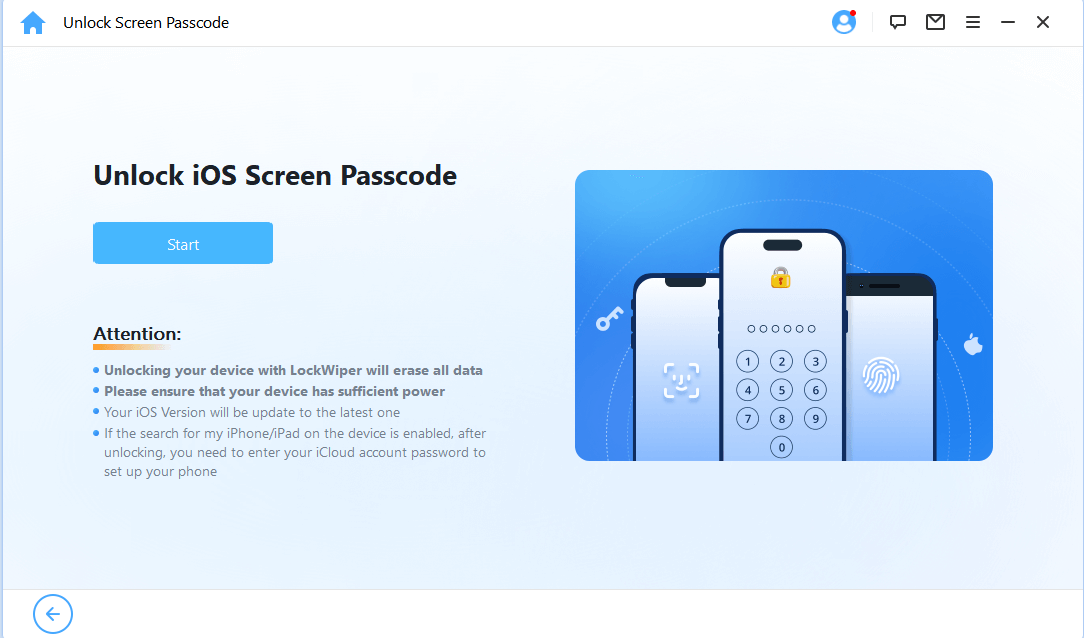
Click "Start" to begin the process.
Note:- 1. Unlocking your device with LockWiper will erase all data.
- 2. Please ensure that your device has sufficient power.
- 3. Please make sure your device is connected to your computer all the time.
Connect your iPhone/iPad/iPod Touch to your computer via USB cable.
Choose your device model "iPhone 8 or Later","iPhone 7/7 Plus" or "Other iDevice," on the top bar. Then follow the instruction on how to put your device into recovery mode.(You can also view the video tutorial)
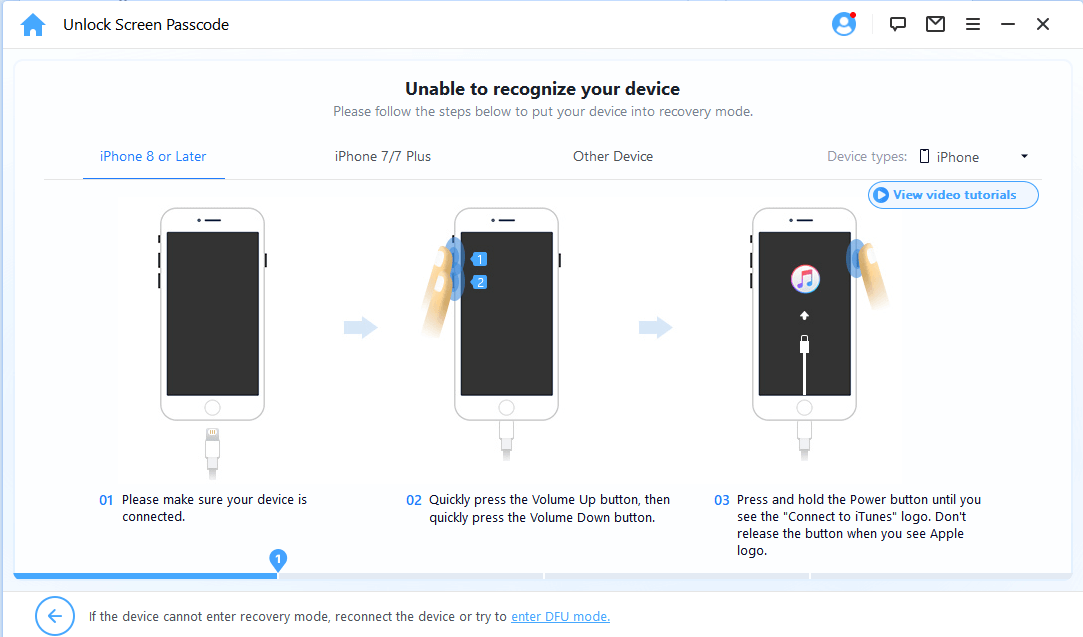
If your device cannot enter recovery mode, please try DFU Mode by clicking on "enter DFU mode" at the bottom.
Step 2: Download & Verify Firmware Package
The program will auto-detect your device model. The program will automatically detect your device model. You can change the storage path of the firmware package and click "Download" to download the firmware package.
If it fails to download, you can click "Click here" to download the firmware package in a browser.
If you have already downloaded a firmware package on your computer, click "Select local firmware package" to add it in.
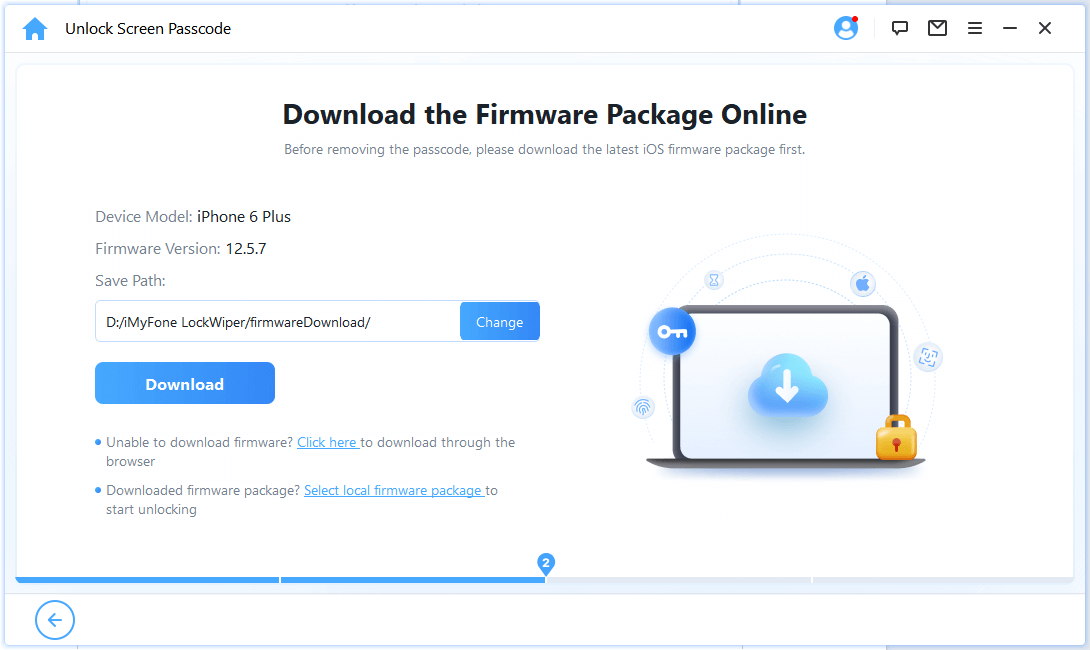
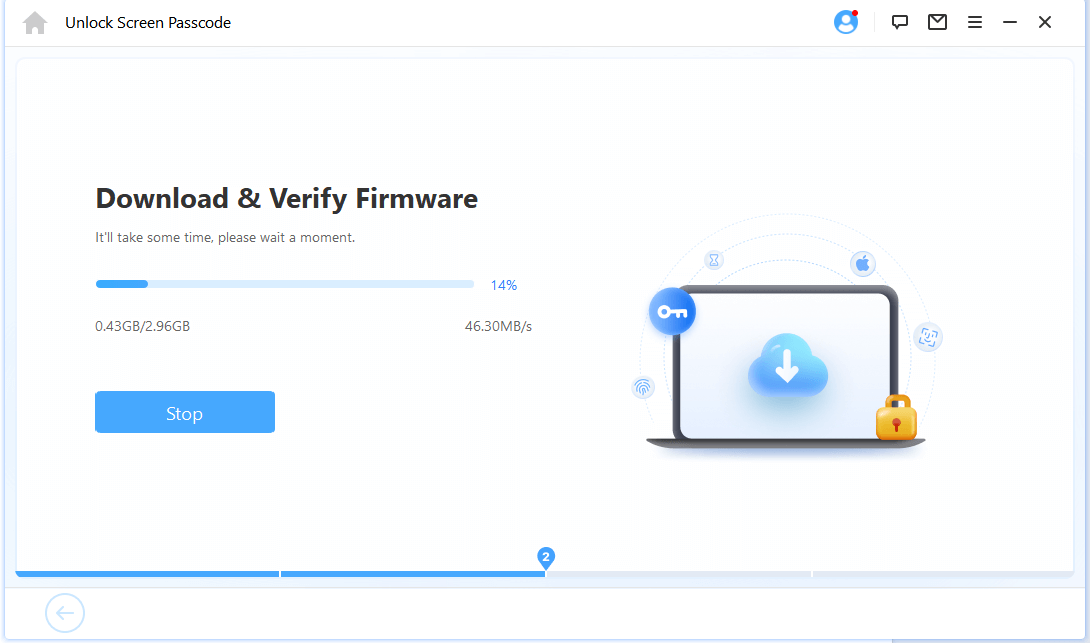
Please wait a few minutes to download and verify the firmware package.
Step 3: Unlock Screen Passcode
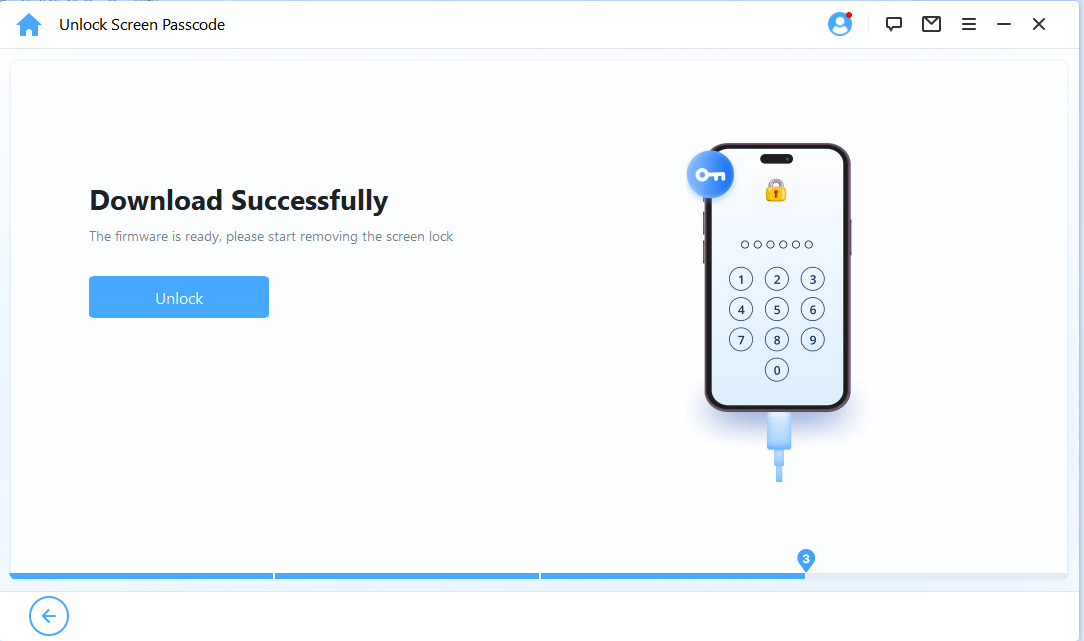
After successfully downloading and verifying the firmware package, you will enter the download success page.
Click "Unlock" to begin. Please keep your device connected to PC via USB cable during the unlocking process.
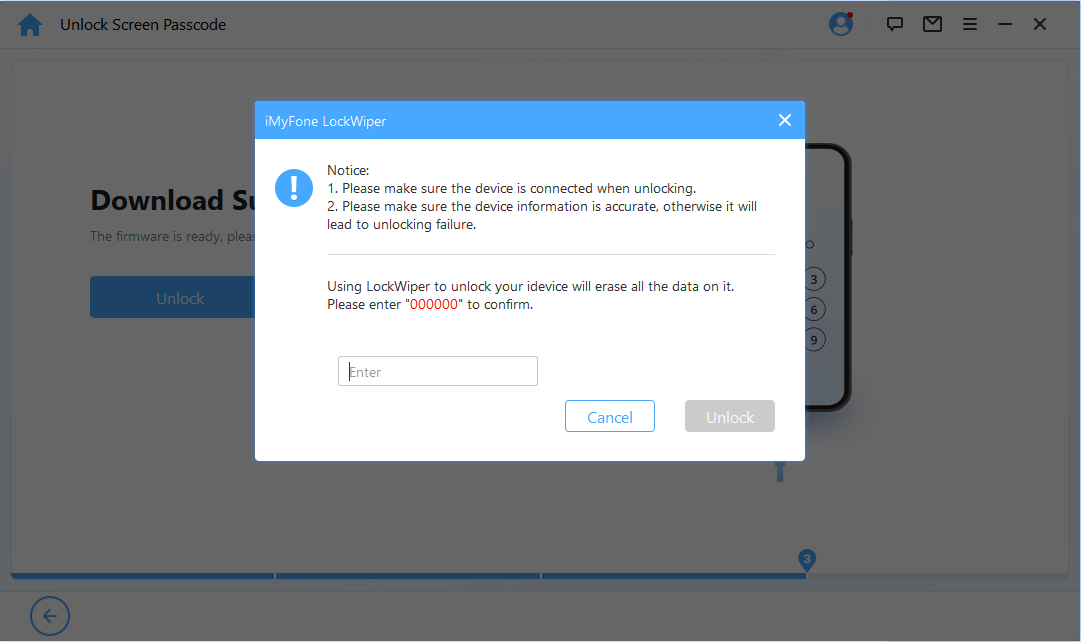
Please read the notice carefully and enter "000000" to double confirm you are agreeing to unlock your device, then click "Unlock."
Just in a few minutes, the lock will be removed from your device.
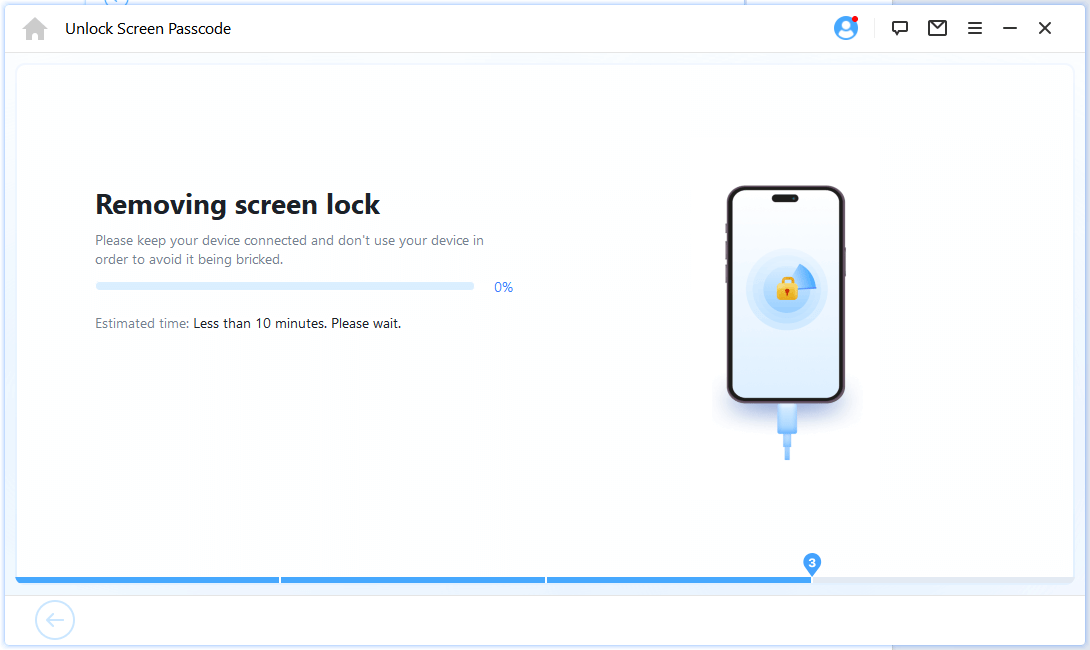
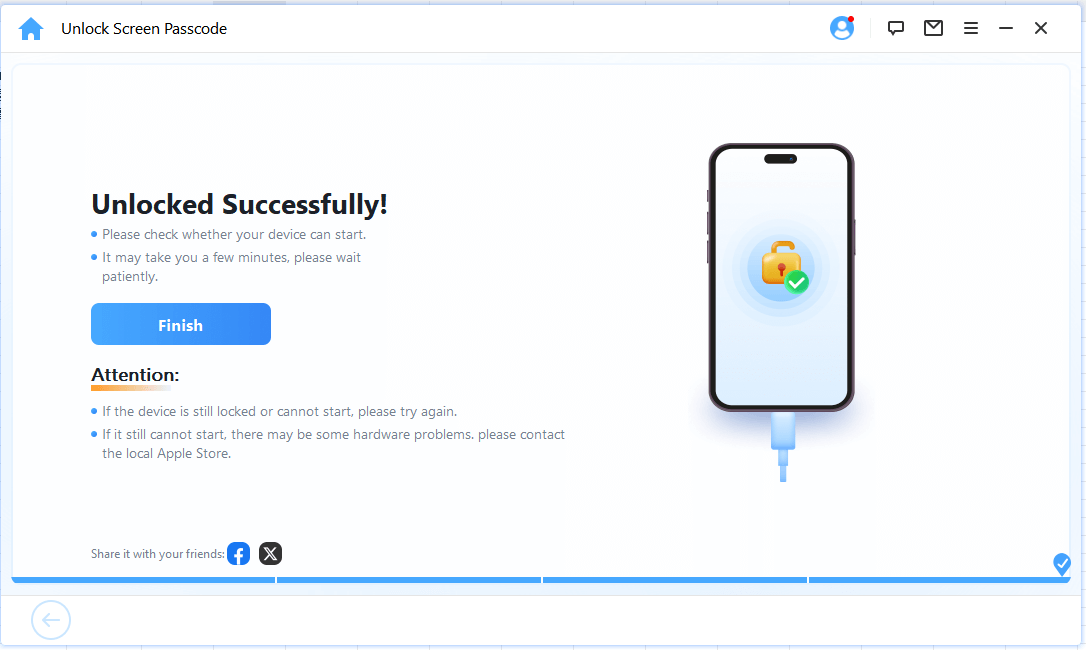
Now it's done! Your iPhone/iPad/iPod Touch screen passcode is successfully unlocked!
Tips: Put Your Device in DFU/Recovery Mode
If your device cannot be detected normally in the process of loading device information or unlocking step, you'll need to put it into DFU/Recovery mode manually.
Choose your device model "Other iDevice," "iPhone 7/7 Plus" or "iPhone 8 or Later" on the top bar. Then follow the instruction on how to put your device into DFU mode.
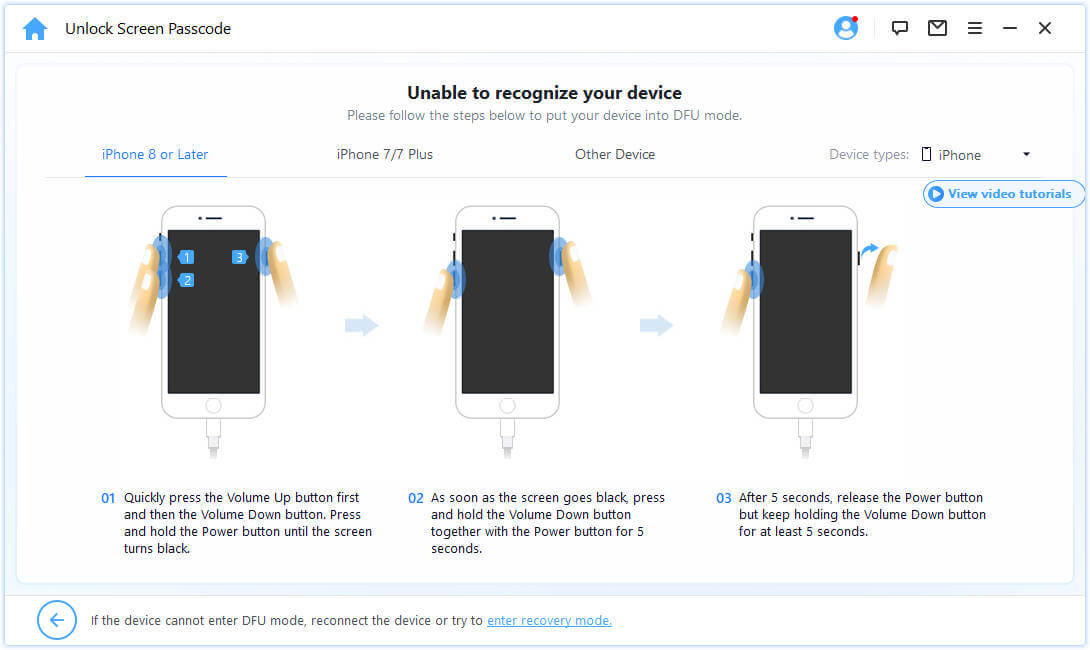
If your device cannot enter DFU mode, please try Recovery Mode by clicking on "put your device into Recovery Mode" at the bottom.
Then choose your device model "Other iDevice", "iPhone 7/7 Plus" or "iPhone 8 or Later" on the top bar to see the instruction.
Part 3: Unlock Screen Time Passcode
Forgot the Screen Time passcode or Restrictions passcode on your iPhone, iPad or iPod touch? iMyFone LockWiper can help you unlock such passcode easily and quickly without data loss.
Video Tutorial:
Step 1: Launch iMyFone LockWiper
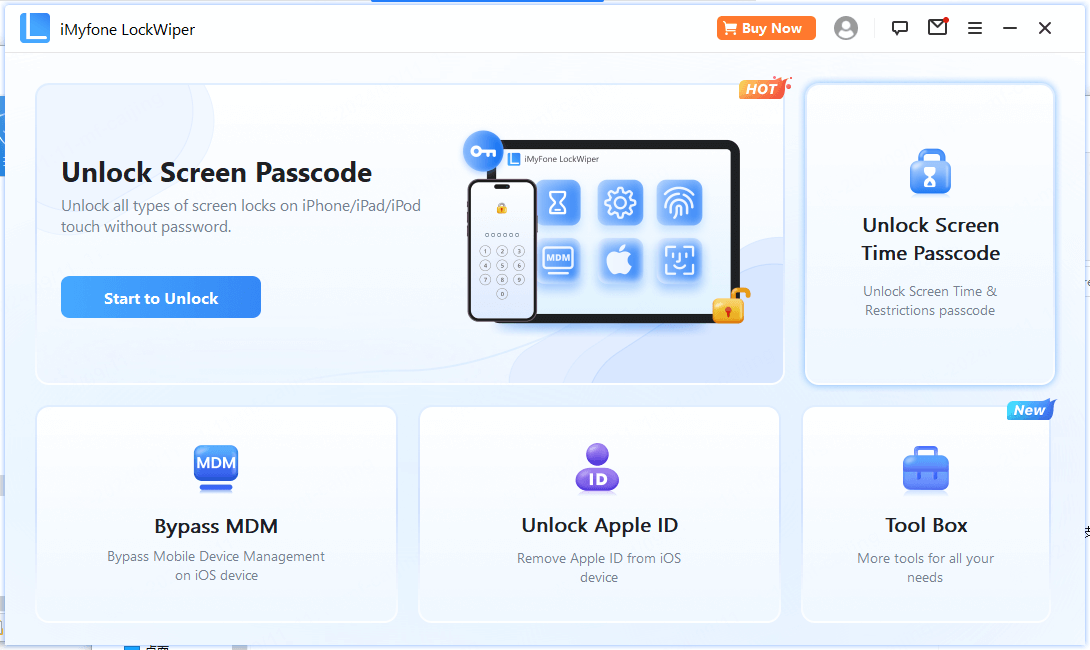
Launch iMyFone LockWiper on your computer and choose "Unlock Screen Time Passcode" mode.
Step 2: Connect Your Device to Computer
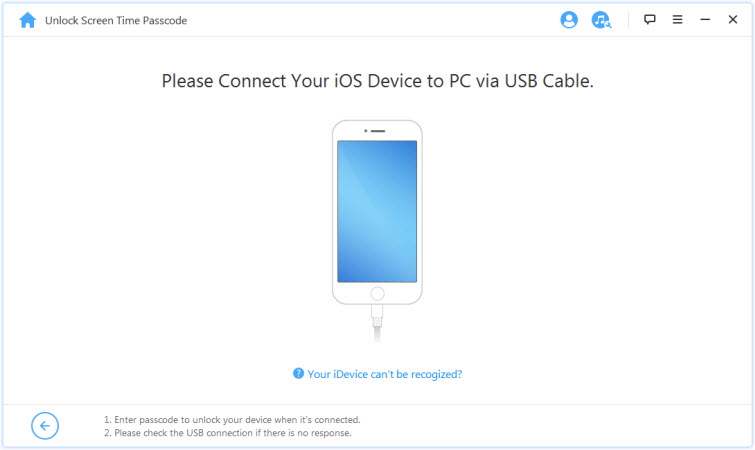
Connect your iPhone/ iPad/ iPod Touch to your computer with a USB cable.
If the connection is not detected, click "Your iDevice can't be recognized?" to fix it.
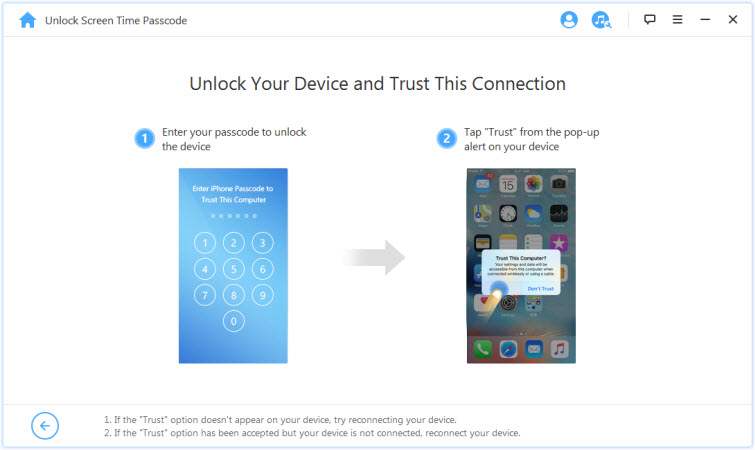
If you have not trusted this computer before, unlock your device screen and tap "Trust" from the pop-up alert on your device.
Step 3: Unlock Screen Time & Restrictions Passcode
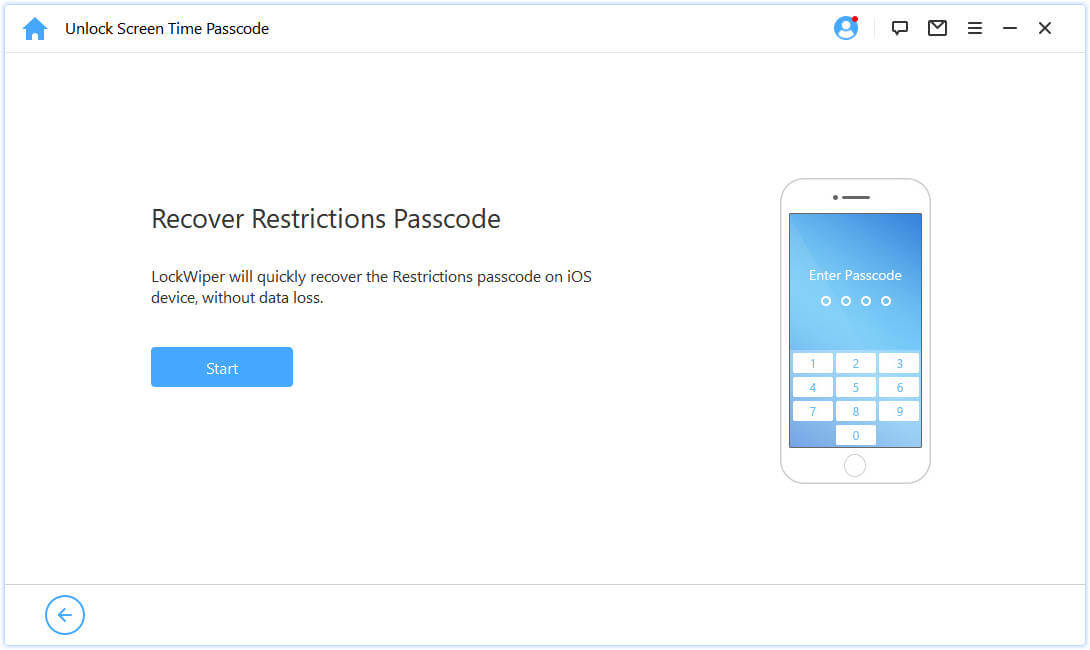
When your device is detected, you'll see the "Unlock Screen Time Passcode" interface if your device is running iOS 12 or above; or see the "Recover Restrictions Passcode" interface if your device is running iOS 11 or earlier versions.
Case 1: Remove Screen Time Passcode on iOS 12 and above
Select whether the Screen Time Passcode is set directly on device or set through Family Sharing and click.
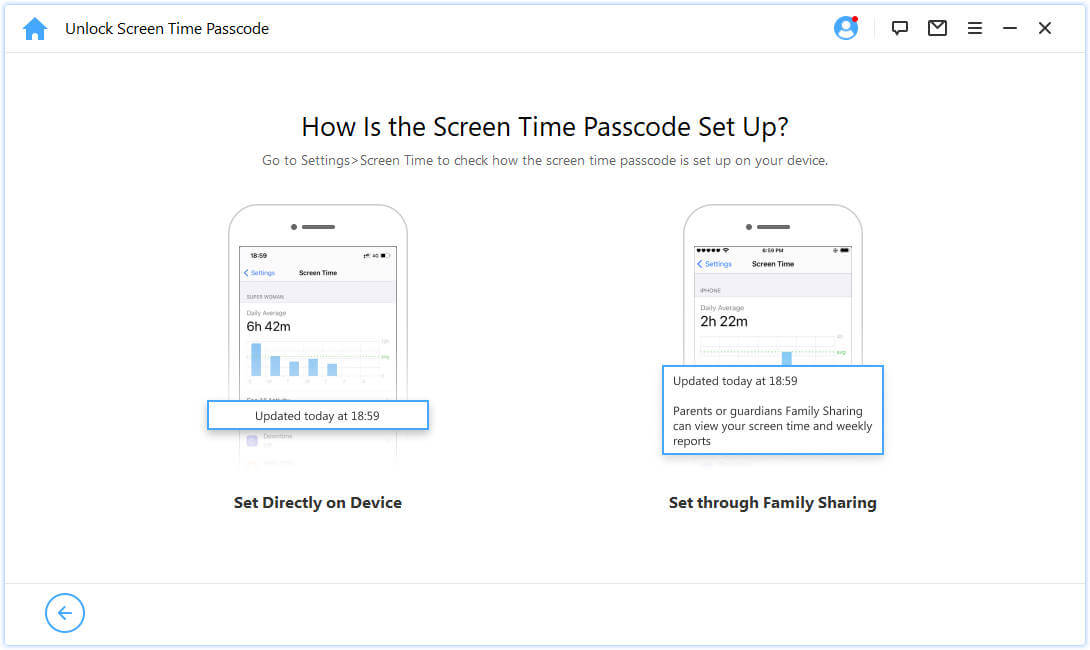
Situation 1: Set Directly on Device
Click "Start to Unlock" button to proceed.
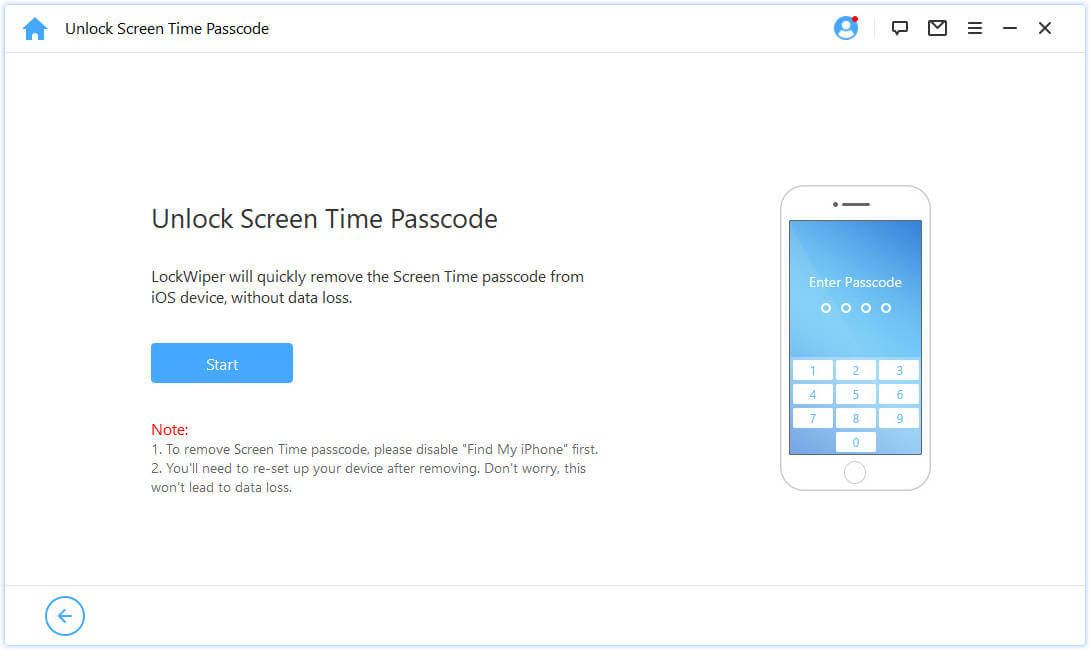
Unlocking the Screen Time passcode requires "Find My iPhone" to be disabled. If Find My iPhone is enabled on your device, please follow the onscreen instructions to disable "Find My iPhone" and then click "Continue" to move on.
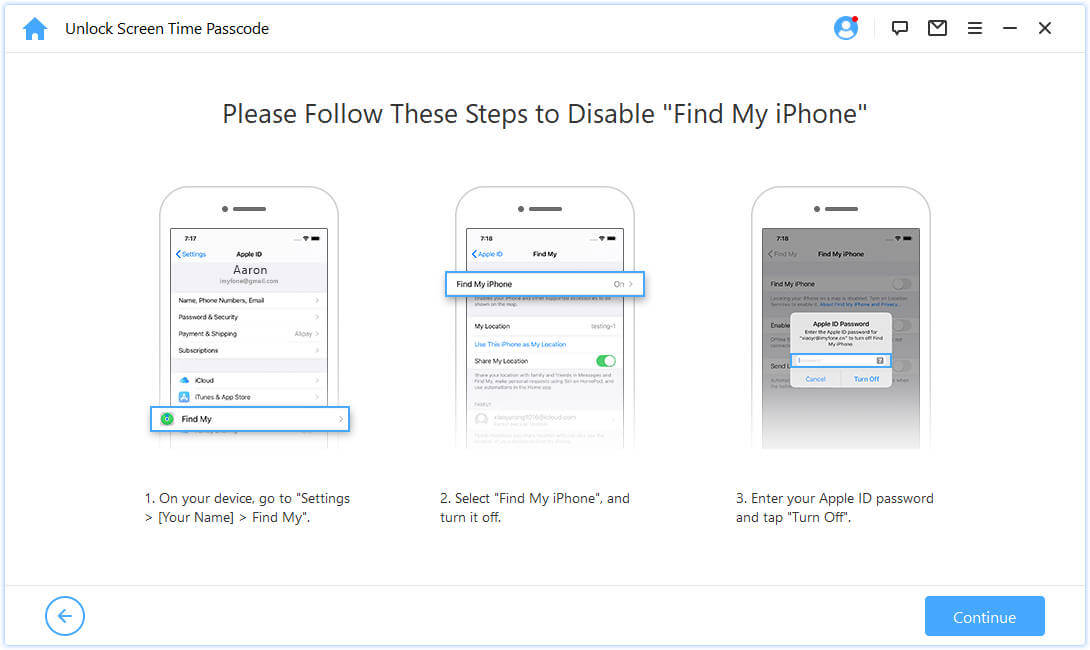
If Find My iPhone is disabled on the iOS device, LockWiper will immediately start to remove the Screen Time passcode on your device.
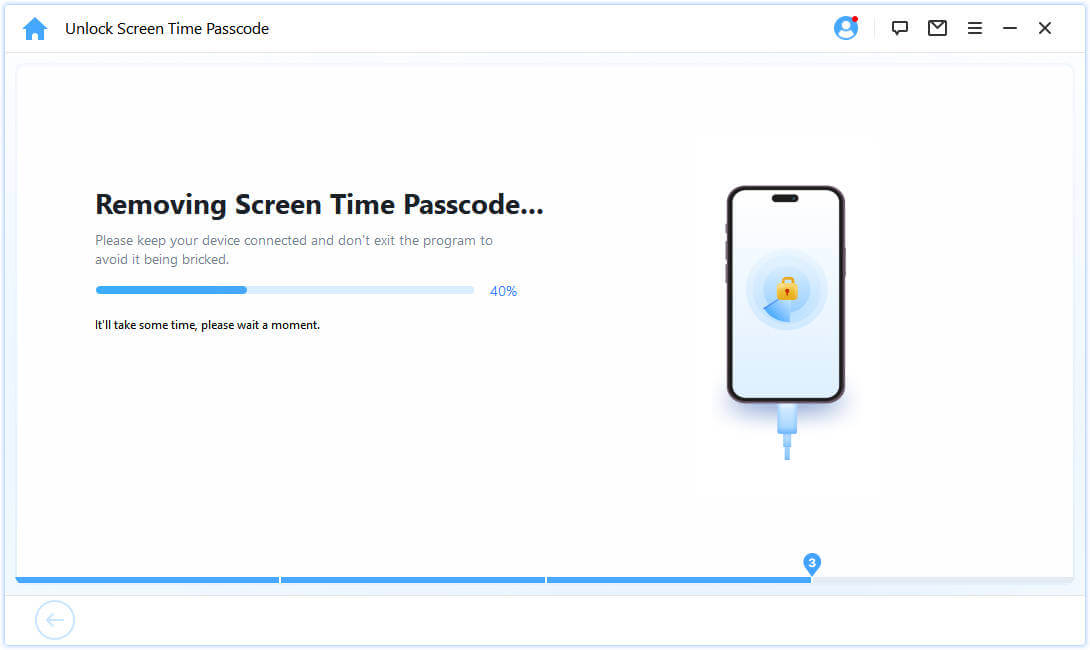
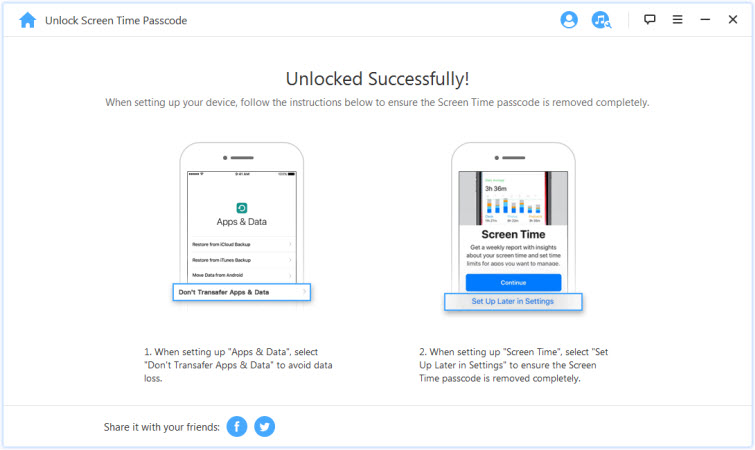
The process won't take long, please wait for LockWiper to remove the Screen Time passcode. After the removal, you need to re-set up your device. When setting up your device, please follow the onscreen instructions to make sure the Screen Time passcode is removed completely.
Situation 2: Set through Family Sharing
Click "Start to Unlock" tab to remove the Screen Time Passcode.

Situation 1: If Find My iPhone is Disabled
Situation 2: If Two-Factor Authentication is Enabled
Situation 1: If Find My iPhone is Disabled
If Find My iPhone is disabled on the iOS device, LockWiper will immediately start to unlock your device.

It will take a few seconds, please wait for LockWiper to unlock your device.

Situation 2: If Two-Factor Authentication is Enabled
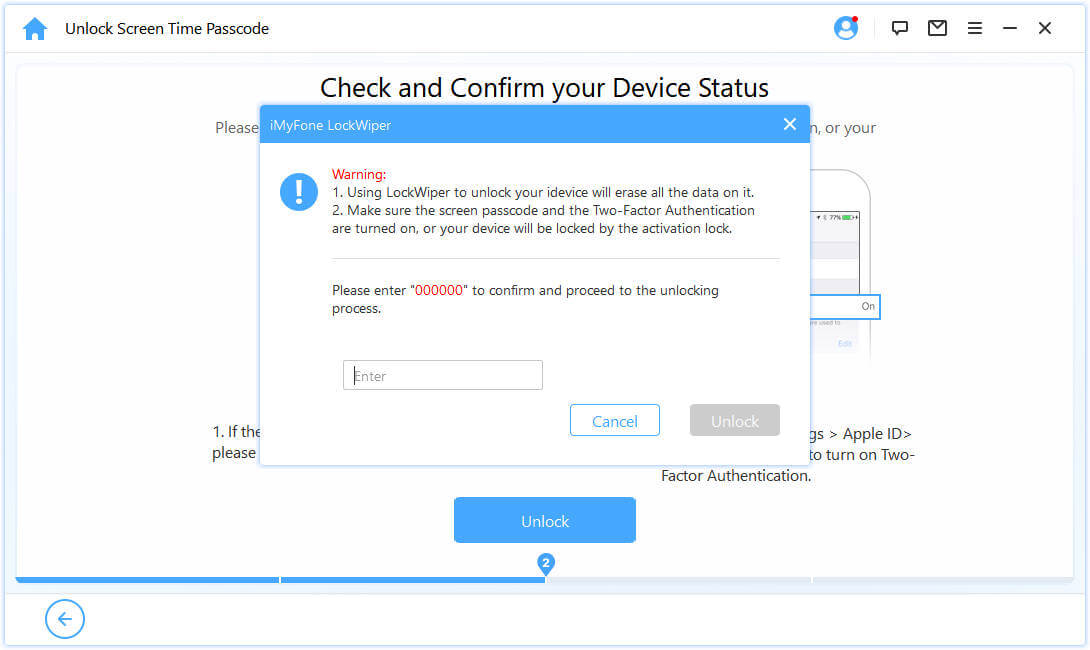
Step 1: Check & Confirm Device Status
Make sure the Screen Passcode and Two-Factor Authentication are turned on.
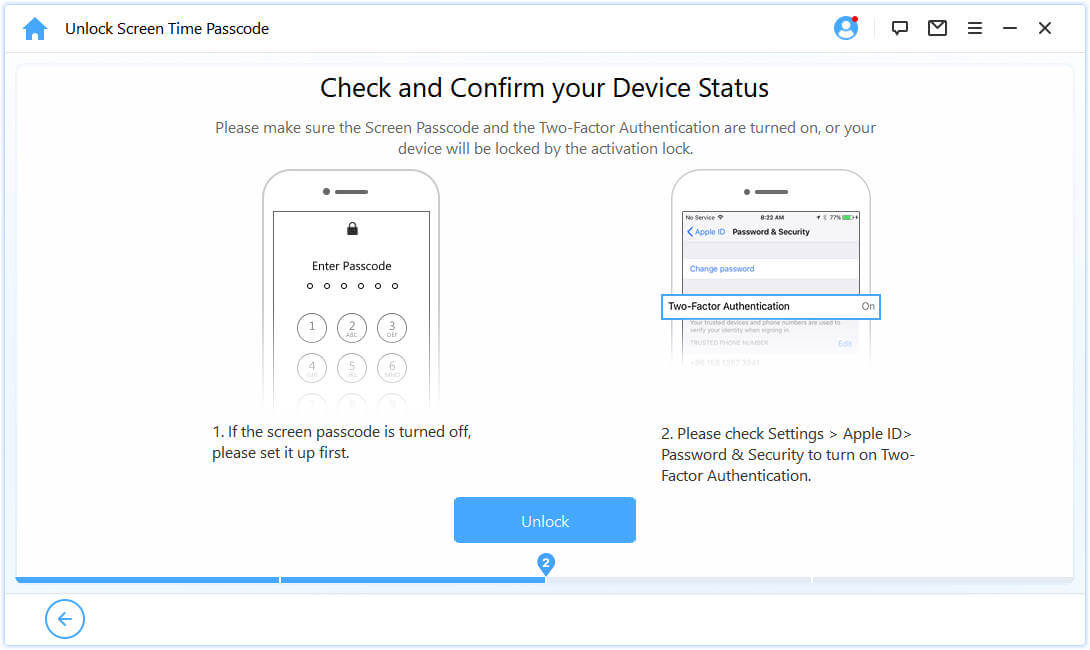
If everything is settled, just hit on "Next". Afterwards, there will be a pop-up window asking you to double confirm. Enter "000000" and click "Unlock" to proceed.
Step 2. Unlock and Set up Your Device
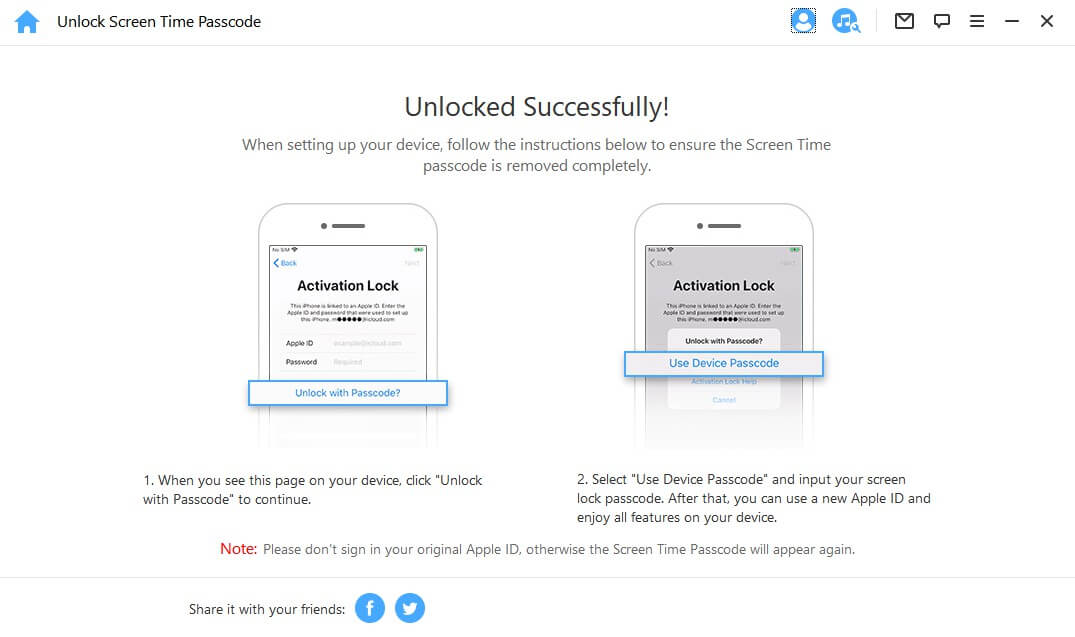
After you hit "Unlock", LockWiper will start to remove screen time on your iPhone and it will restart immediately. Please set up your device after it restarts.

Click "Unlock with Password" when the page appears. Then select "Use Device Passcode" and input your screen passcode. After that, you can use a new Apple ID with no Screen Time Passcode and enjoy all features on your device.
Case 2: Recover Restrictions Passcode on iOS 11 and Earlier Versions
Click "Start to Unlock" button to proceed.
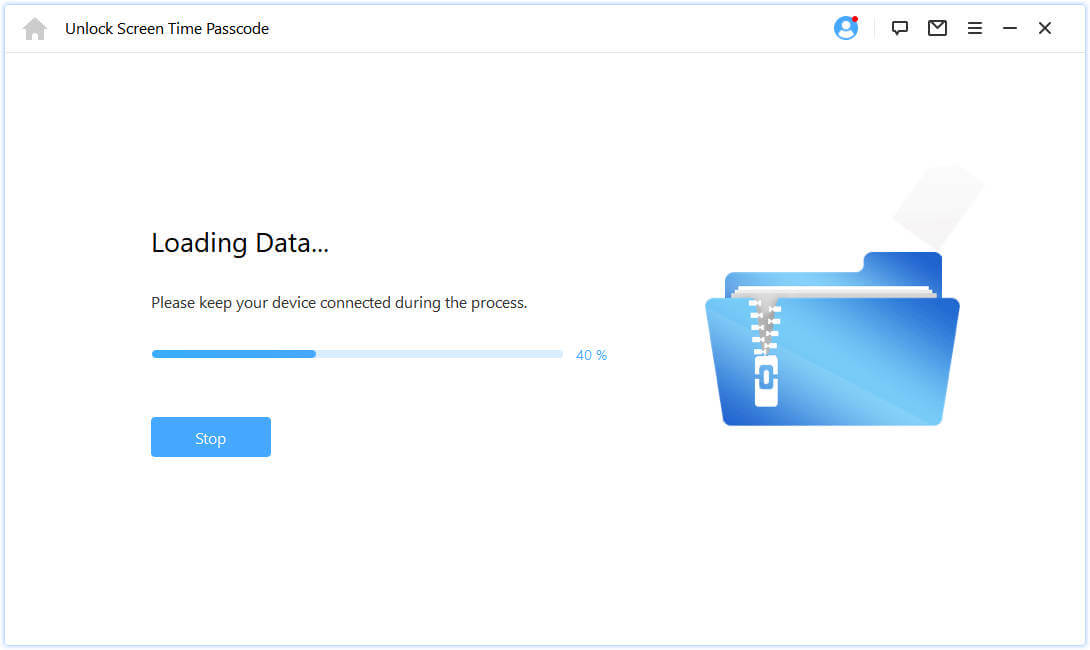
LockWiper will start to load your device data. Please keep your device connected to the computer during the process.
Note:
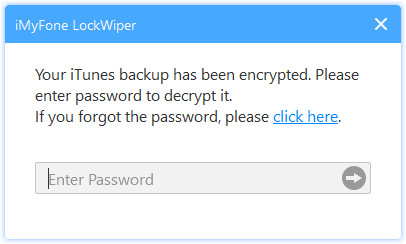
If your iTunes backup has been encrypted, please enter the password to decrypt the backup to proceed. If you don't know the correct password, click on "click here" to continue recovering the Restrictions passcode in another way.
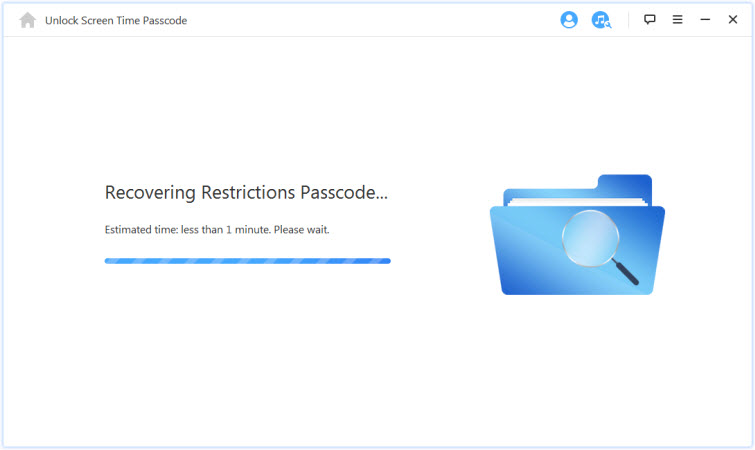
After your device data is successfully loaded, LockWiper will start recovering the Restrictions passcode on your device. The recovering process will take a few seconds, please kindly wait.
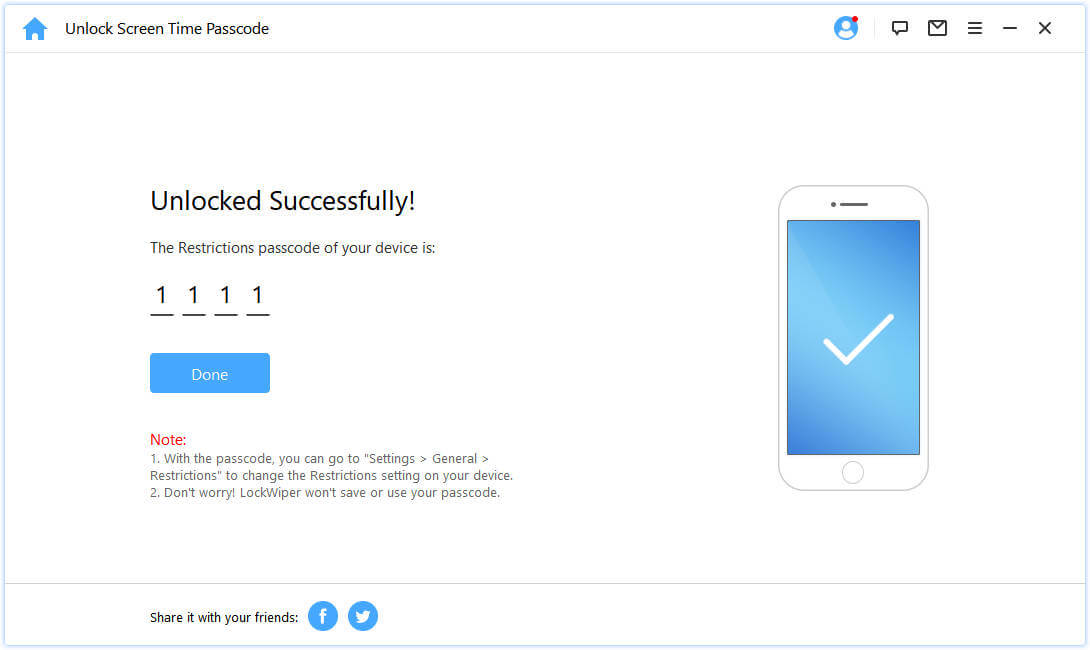
When LockWiper finishes recovering, it will show you the current Restrictions passcode of your device. You can use it to unlock the Restrictions and change the Restrictions setting from "Settings > General > Restrictions".
Part 4: Bypass Mobile Device Management (MDM)
Is your device locked out of the MDM screen? Or there is MDM restriction on your device? Don’t worry! iMyFone LockWiper can help you bypass the MDM on your device within 30 seconds in 3 simple steps. You can get total control of your device after bypassing it.
Note:
If you device is monitored by another PC, it may cause the failure of unlocking MDM. In this condition, when your device is connected to the computer, the following prompt will appear in iTunes.

Video Tutorial:
Step 1: Launch iMyFone LockWiper
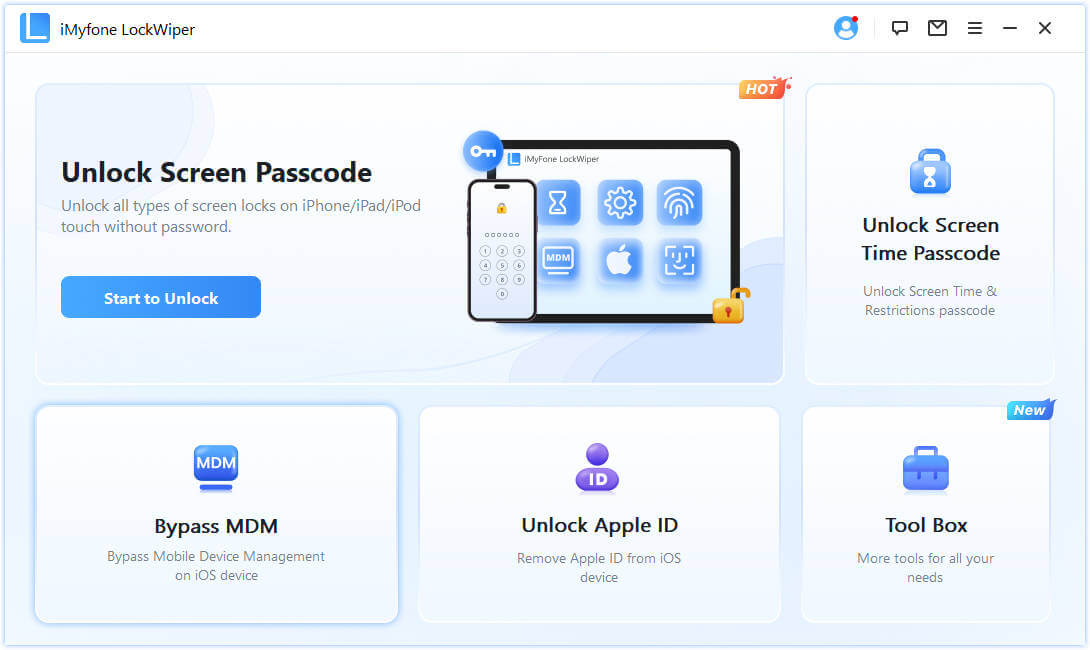
Launch iMyFone LockWiper on your computer and select the "Bypass MDM" mode.
Step 2: Connect Your Device to Computer
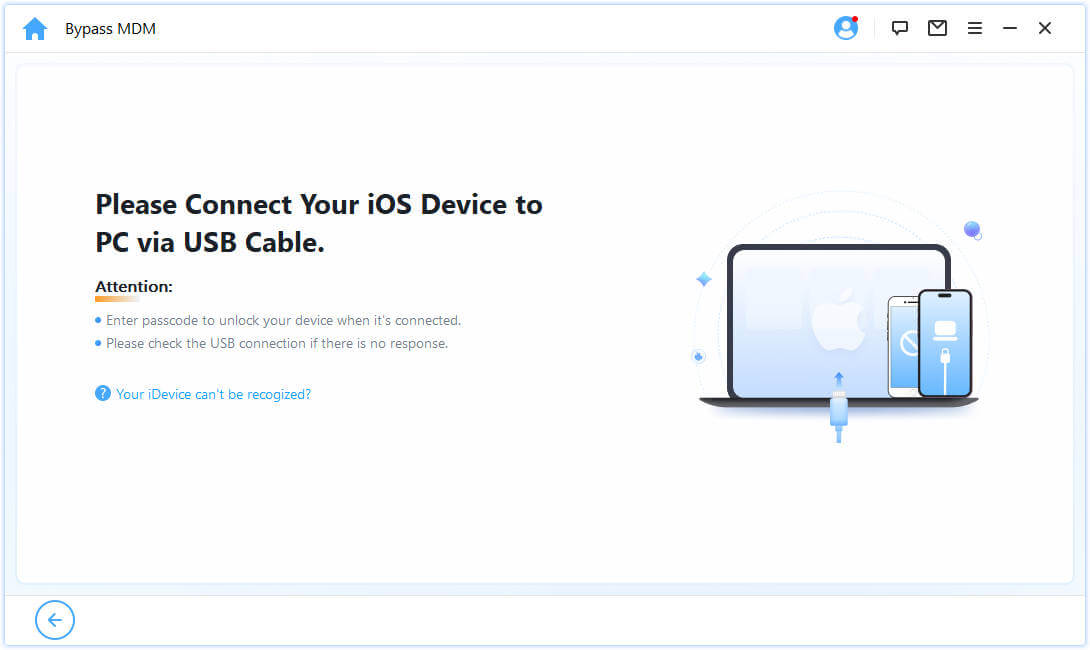
Connect your iPhone/iPad/iPod Touch to your computer with a USB cable.
Note: Please make sure that you have trusted the computer after connecting.
There are two options you can choose. If your device is stuck on the Remote Management Screen, then choose "Bypass MDM".
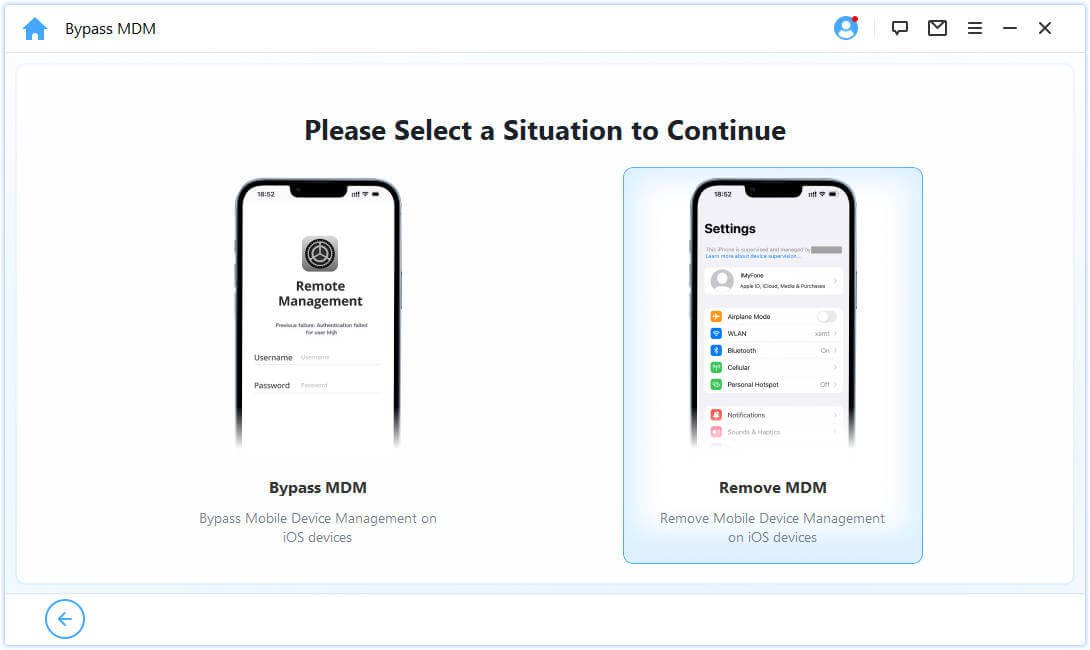
If your device is simply being restricted by MDM Restrictions, select "Remove MDM Restrictions".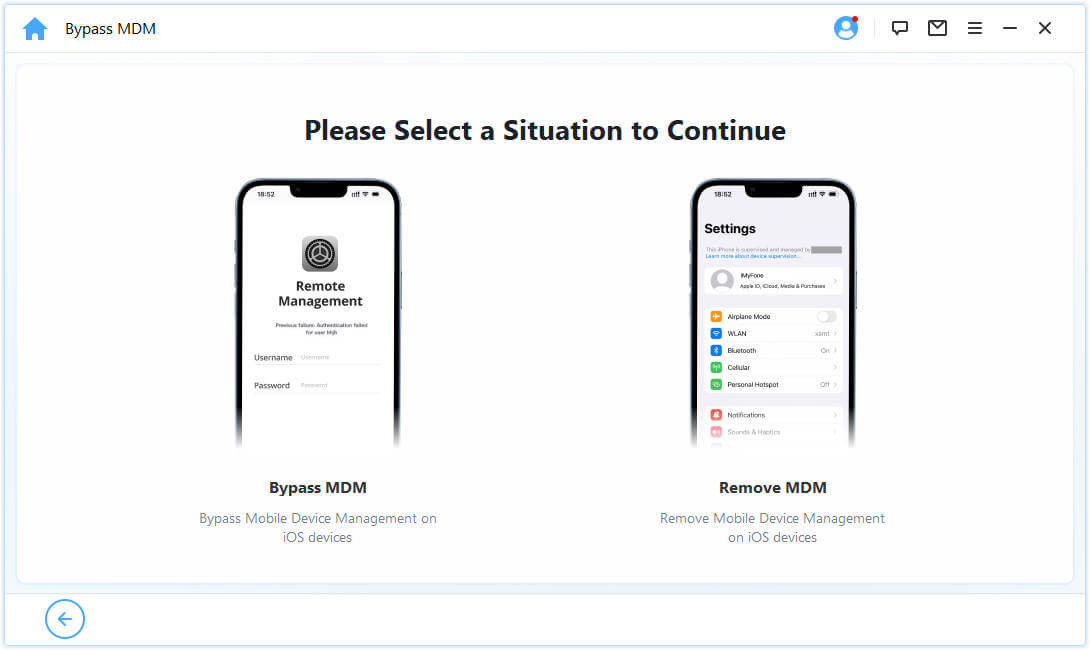
Note: Please make sure Find My iPhone on your device has been disabled.
Situation 1: Lock Out of MDM Screen
Situation 2: This iPhone Is Supervised and Managed by...
Situation 1: Lock Out of MDM Screen
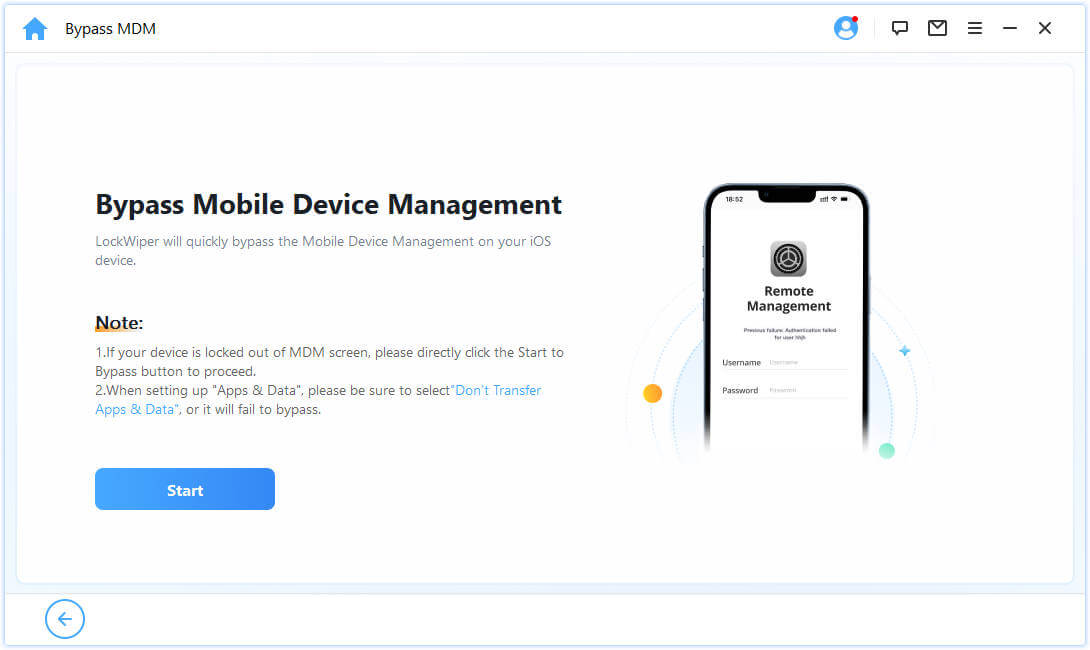
If your device is locked out of the MDM lock screen, select "Bypass MDM" to continue.
Then directly press the "Start to Bypass" button to begin the process.
Note:
Please make sure your device is on MDM Lock Screen.
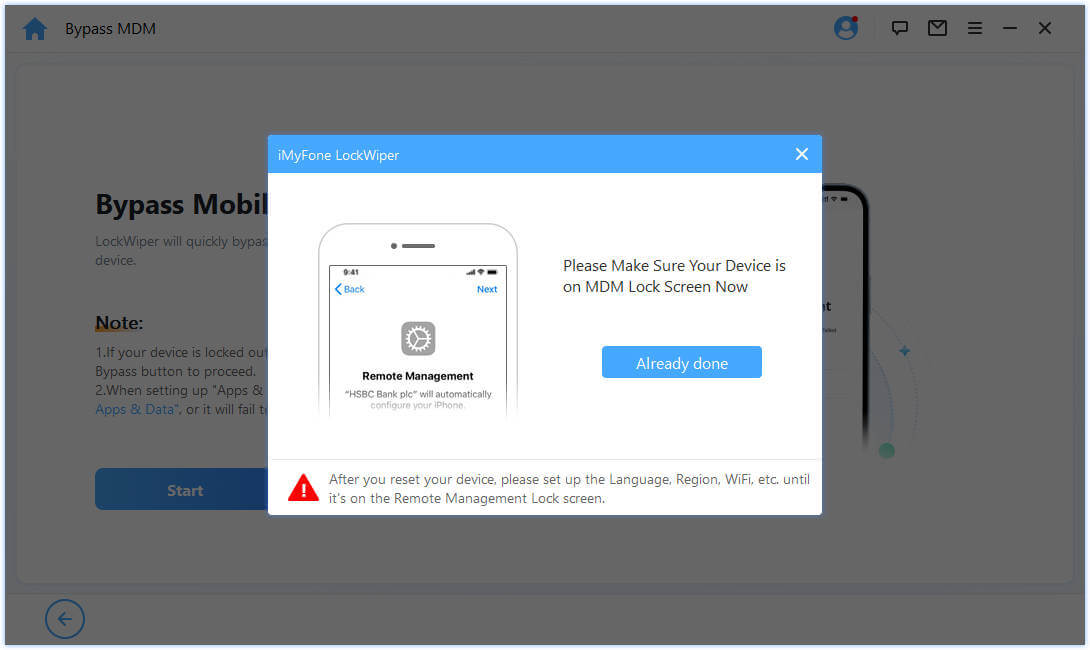
Step 3: Bypass MDM
After that, LockWiper will immediately bypass the MDM on your iOS device.
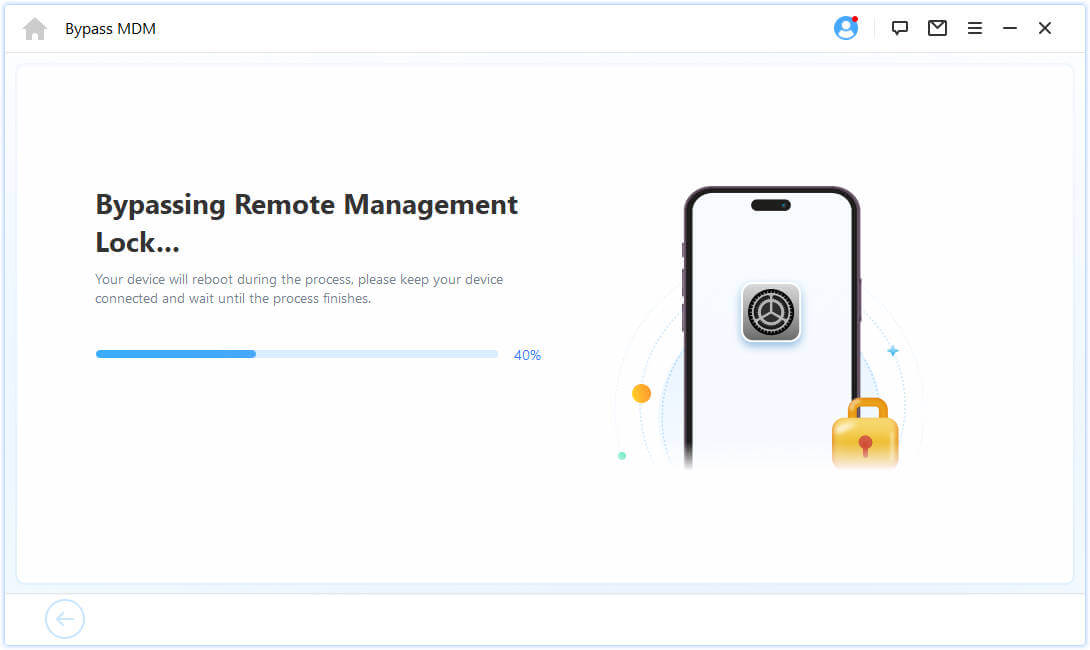
Once the process is finished, the MDM on your device has been bypassed successfully.

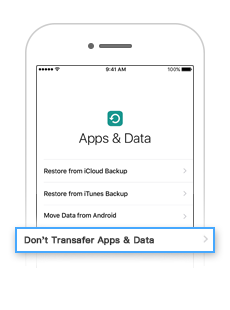
Note 1: When setting up "Apps & Data", please make sure select the "Don't Transfer Apps & Data".
Note 2:
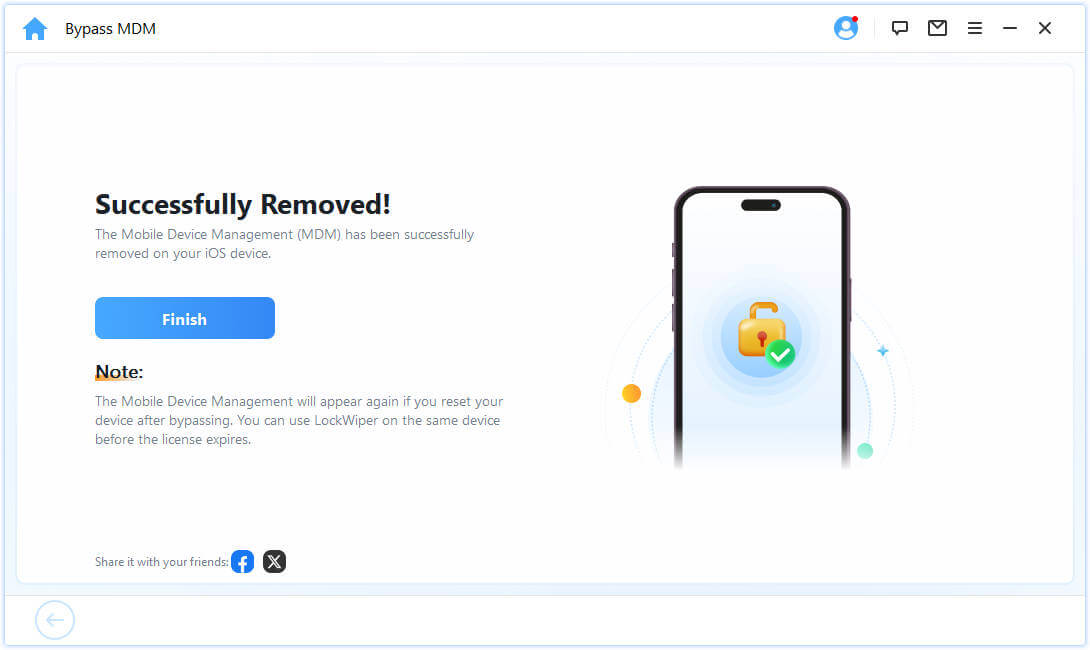
The MDM will appear again if you reset your device after bypassing. You can use LockWiper on the same device before the license expires.
Situation 2: This iPhone Is Supervised and Managed by...
If your device is supervised and managed by other organization, select "Remove MDM Restrictions".
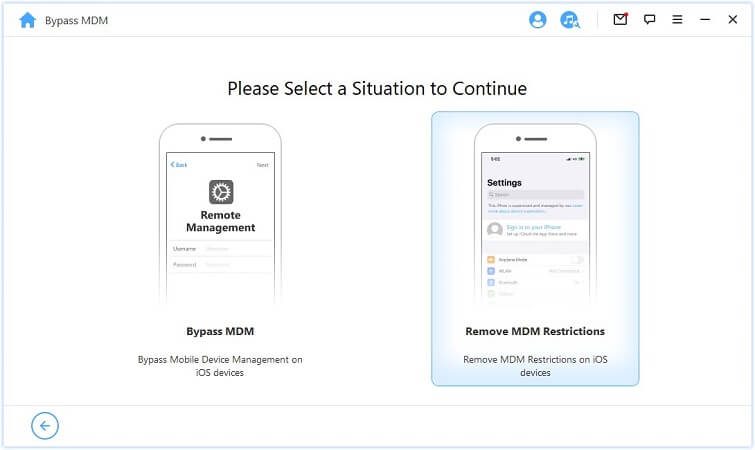
Directly press the "Start" button to proceed.
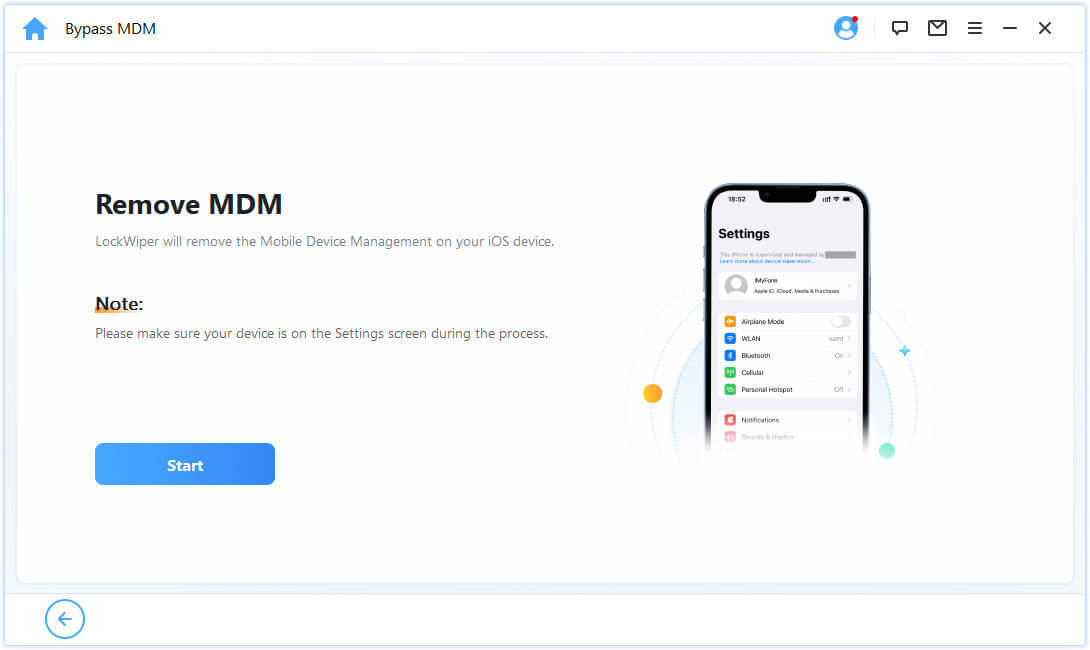
Step 3: Remove MDM
After that, LockWiper will immediately bypass the MDM on your iOS device.
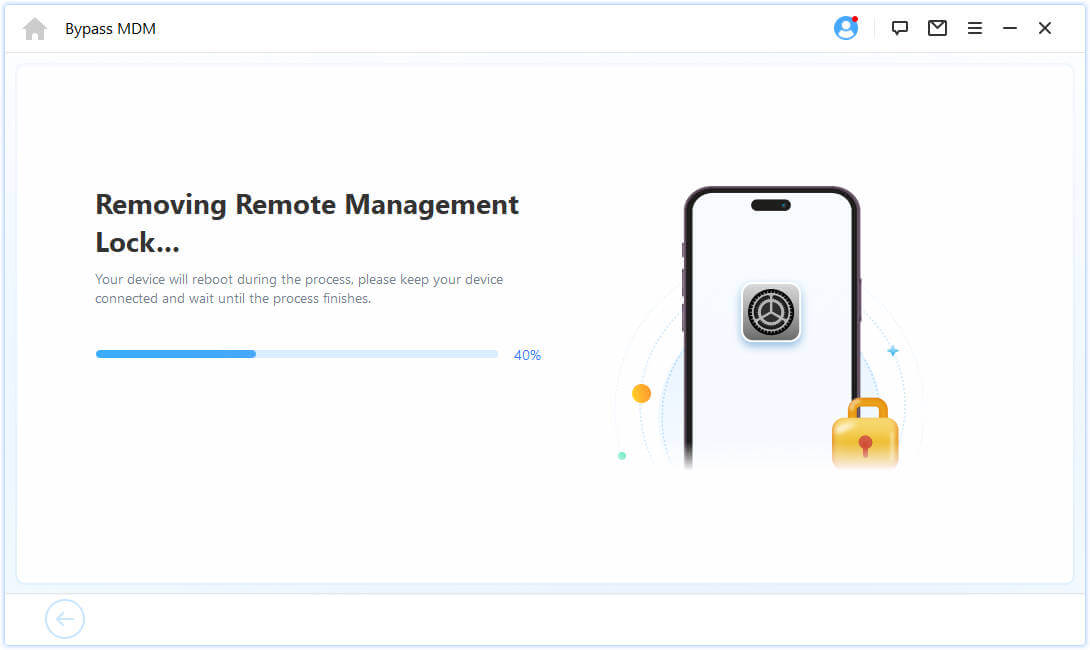
Once the process is finished, the MDM on your device has been bypassed successfully.
Still Need Help?
Go to Support Center >


