User Guide of iMyFone LockWiper (Android)
Did you forget your screen passcode pattern, PIN, password, fingerprint or Face ID from your Android device? Did you want to unlock screen lock from most Samsung devices without data loss? Or want to remove Google FRP lock on Samsung devices without knowing the password?
Don't worry! iMyFone LockWiper (Android) can help you to solve these issues have mentioned. Follow the steps below to remove the lock quickly and gain access to your device again without any hassle.
Part 1: Unlock Google FRP Lock
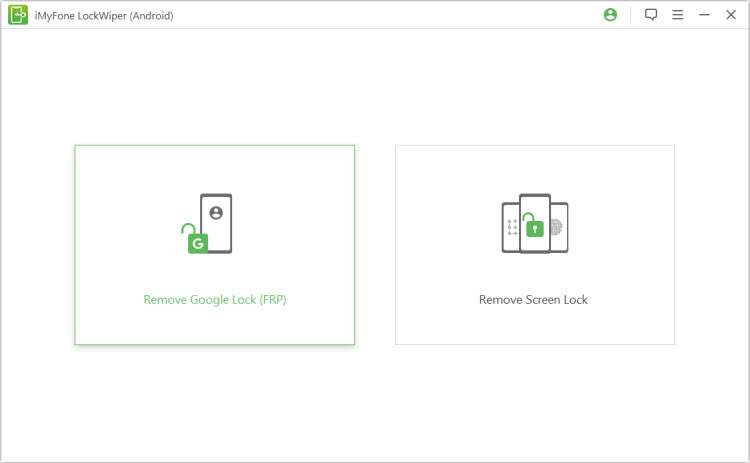
There are two modes for unlocking Google FRP locks: Standard Mode and Advanced Mode.
Advanced Mode only works on a few Samsung devices, and your Android version will upgrade to the latest version after unlocking.
Standard Mode can unlock devices quickly and won't change the Android version! If Advanced Mode does not support your device, please select this mode.
Unlock Google FRP Lock - Standard Mode
Step 1: Connect Samsung Device
After installing LockWiper (Android) on your computer, choose "Standard Mode".
Step 2: Select Device OS Version
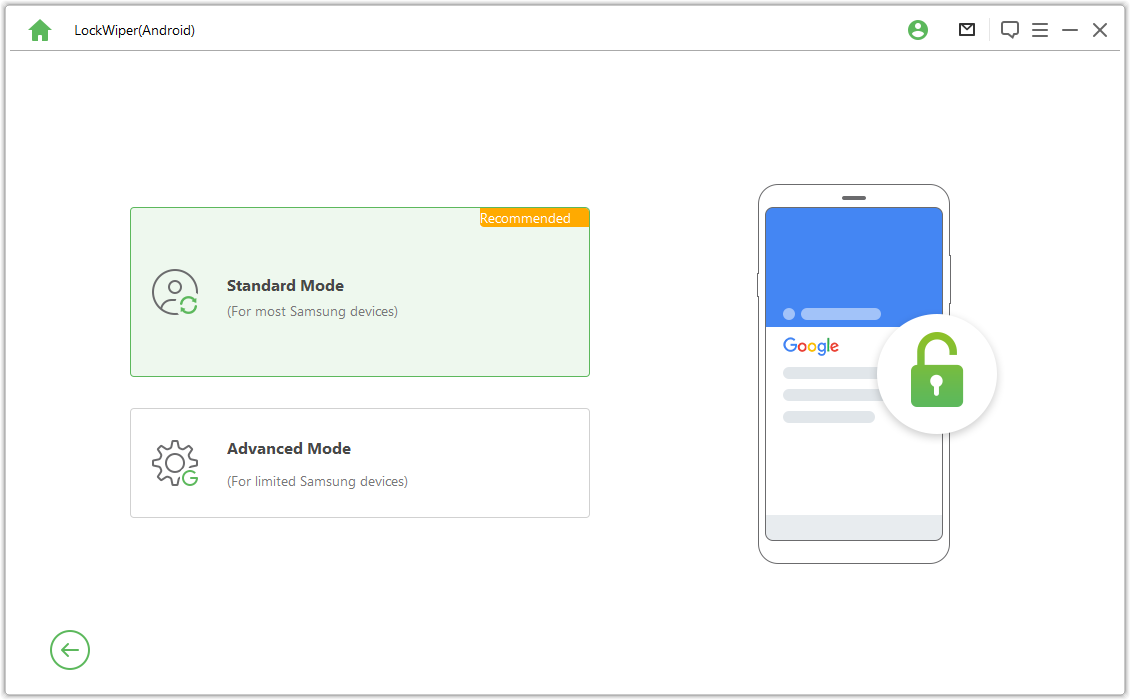
Select the OS version of your Samsung device and click "Start".
Note: If you don't know, click on the below "Don't know the device OS version?" to check.
Step 3: Remove Samsung FRP Lock
Situation 1: For Android 11/12
Situation 1: For Android 11/12
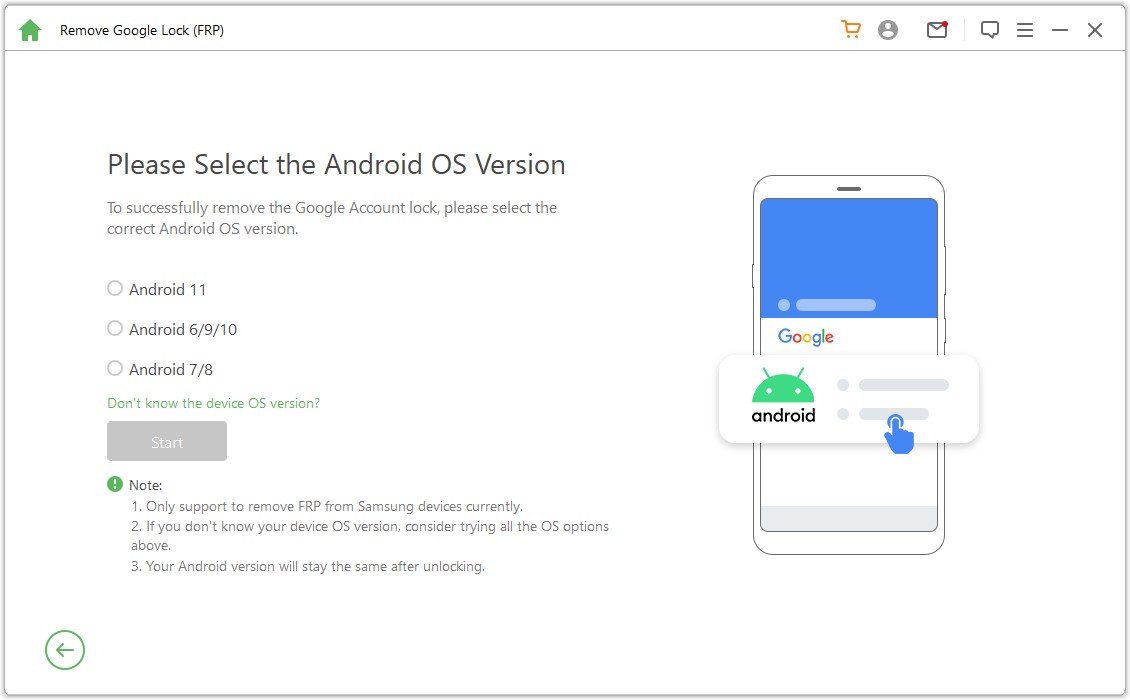
Then, check the on-screen notes and confirm, click on "Confirm" and connect your device to the computer via a USB cable.
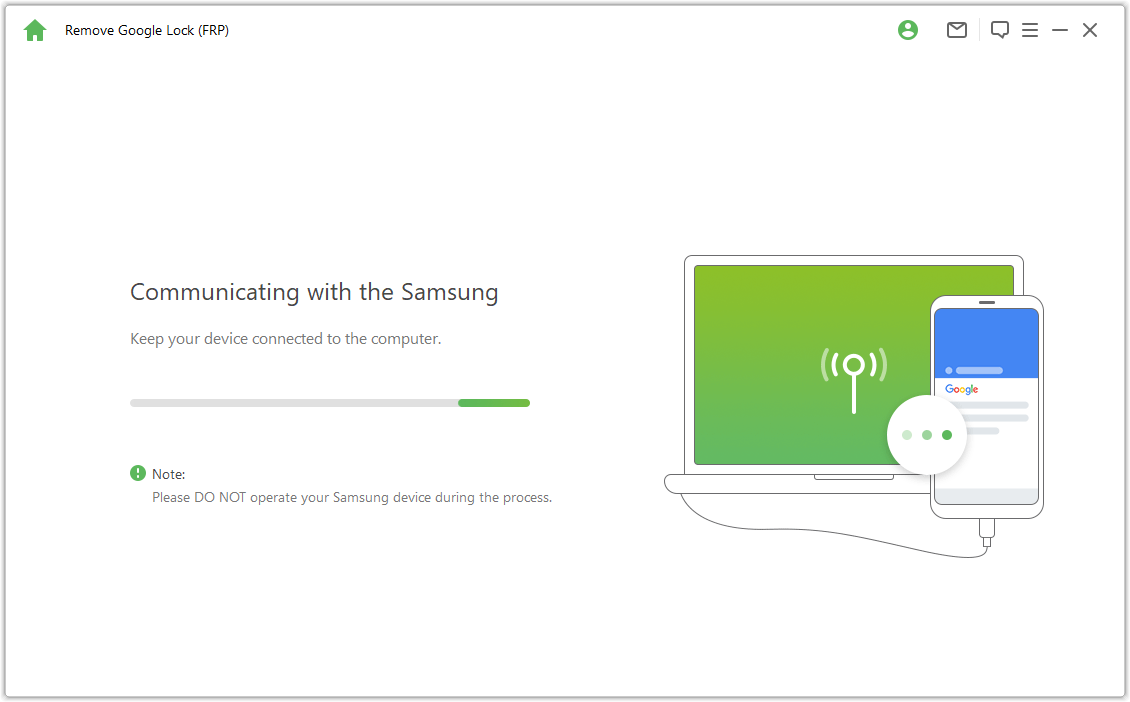
Now wait for a few seconds and you will see a pop-up window with instructions. Use the password to access the hidden Samsung Diagnostics menu, just make sure your device allows USB debugging.
Note: Please keep the Samsung phone working on, and you don’t need to connect to the computer in this process.
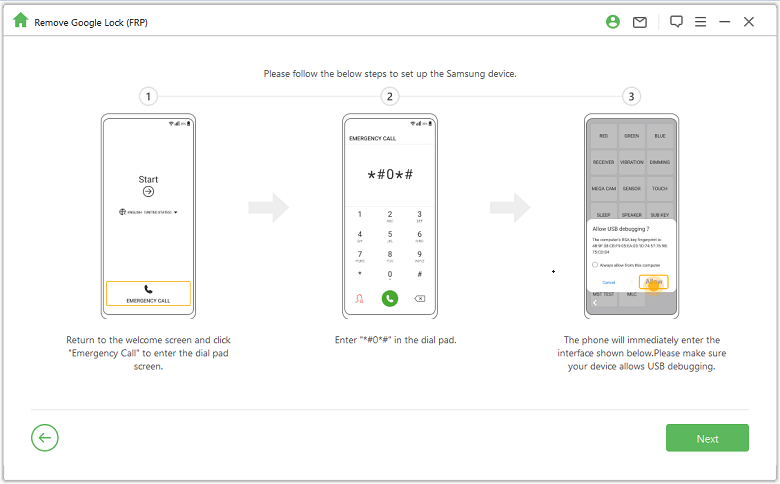
If the USB debugging pop-up does not appear on your device, reconnect your device to the computer. If the debugging pop-up window still does not appear, it may be a device problem, please download the Samsung USB driver and install it yourself.
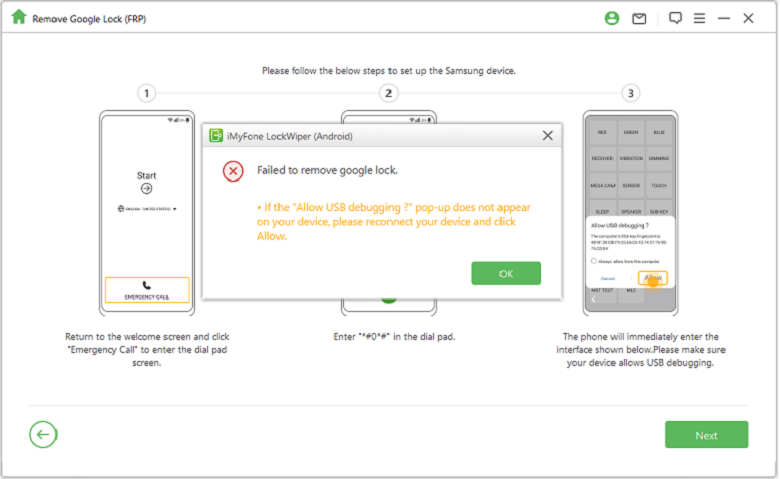
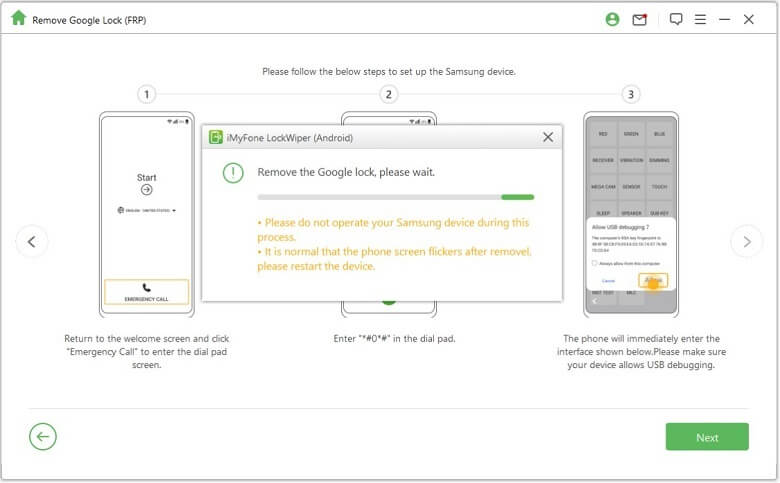
Wait a few minutes to remove the Google lock. Please do not use your Samsung device during this process. It is normal to find the screen is blinking after removal, then restart your device.
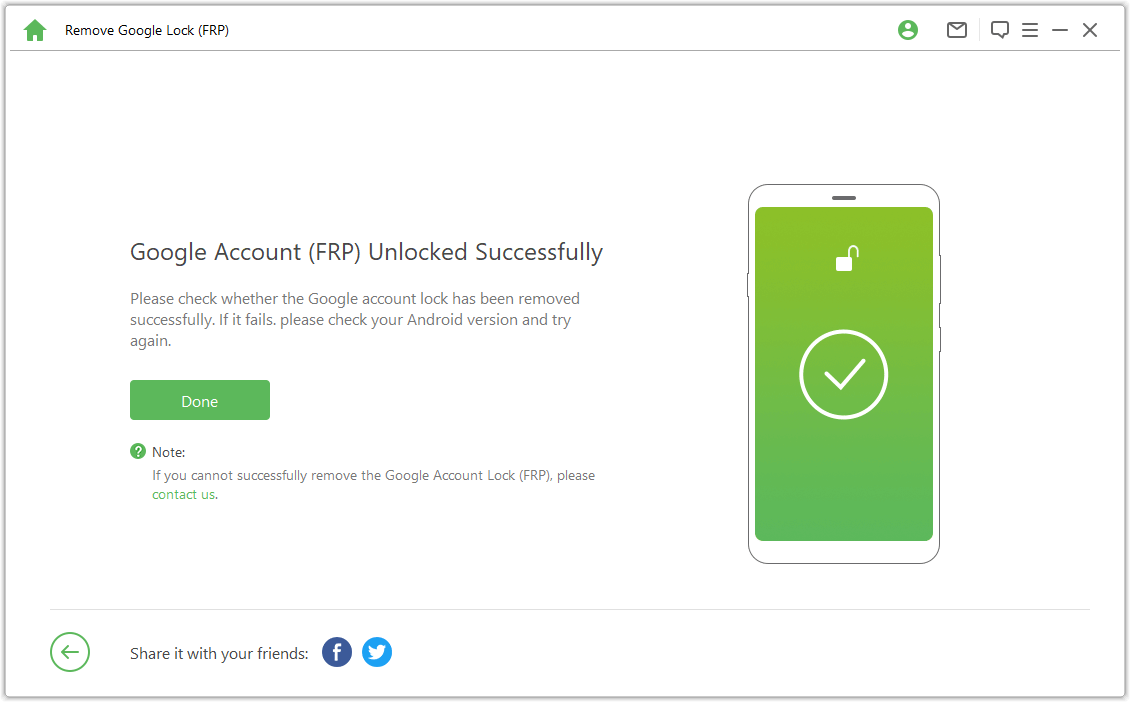
Your Samsung FRP lock will be completely removed after restarting the device.
Situation 2: Below Android 11
Video Tutorial:
Check the on-screen notes and confirm, click on "Confirm" and connect your device to the computer via a USB cable.

Click "View" option on your Samsung device, and your phone will go to Galaxy Store. Type the URL "https://www.imyfone.com/frp/" in the browser and click "Download APK" to download the customized apk for unlocking Google FRP. After downloading, install and elect allow unknown apps if relevant alert appears.
Note: Open Samsung Browser here. If your Samsung Browser app needs updating, update first.
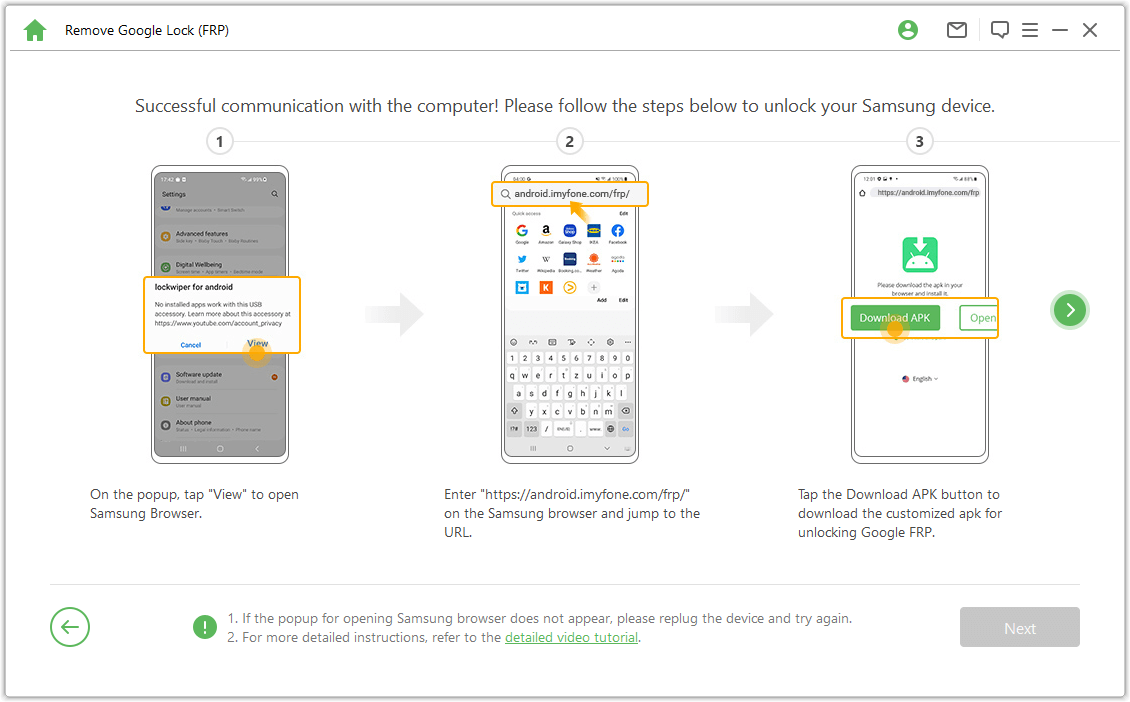
Click "Go to Settings" on the browser to enter the Settings menu on your Samsung device. Go to "Lock Screen and Security" or "Biometrics and security".
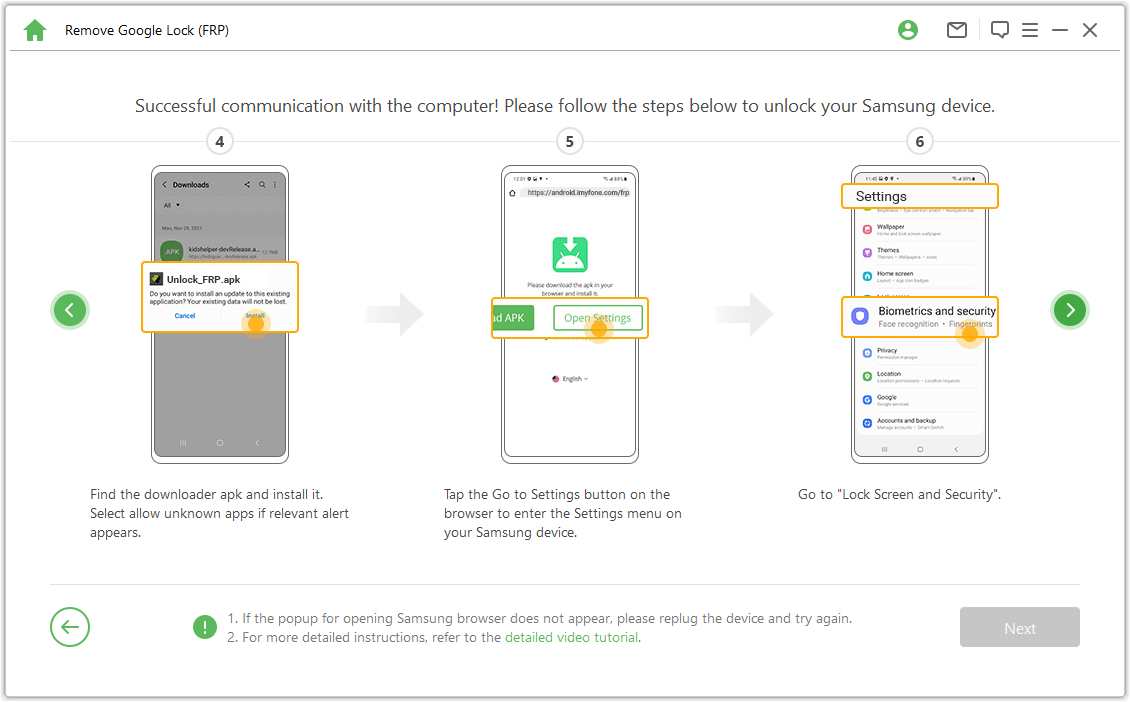
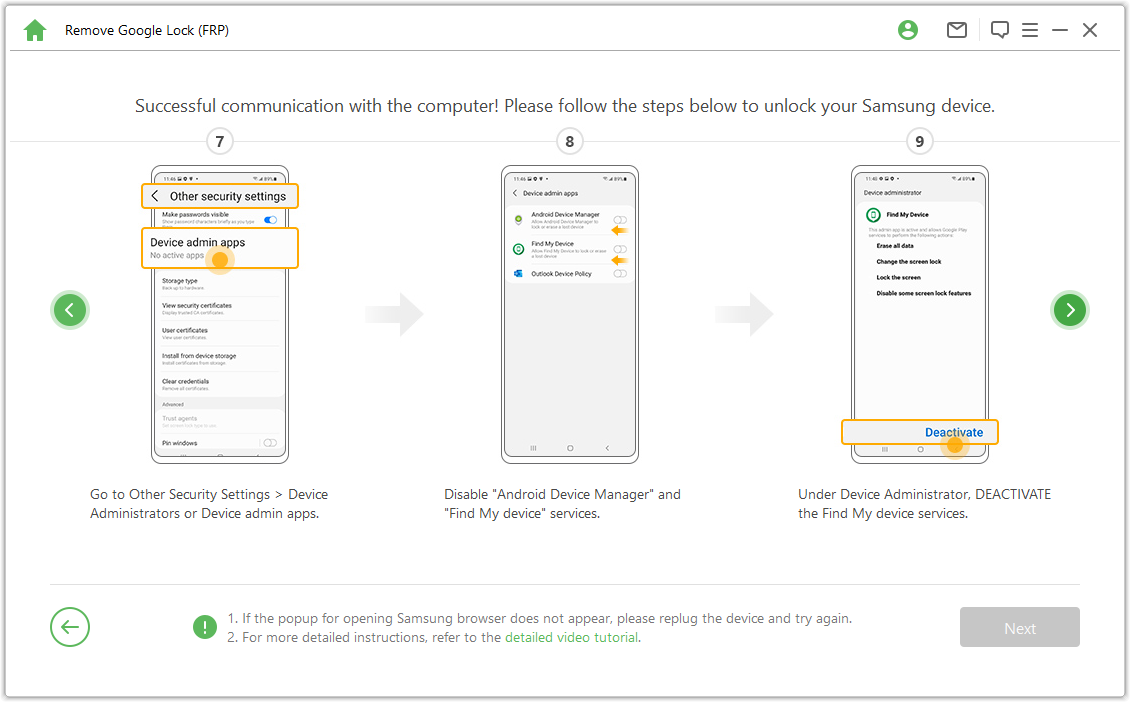
Go to Other Security Settings > Device Administrators or Device admin apps. Turn off "Android Device Manager" and "Find My device", and DEACTIVATE the Find My device under Device Administrator.
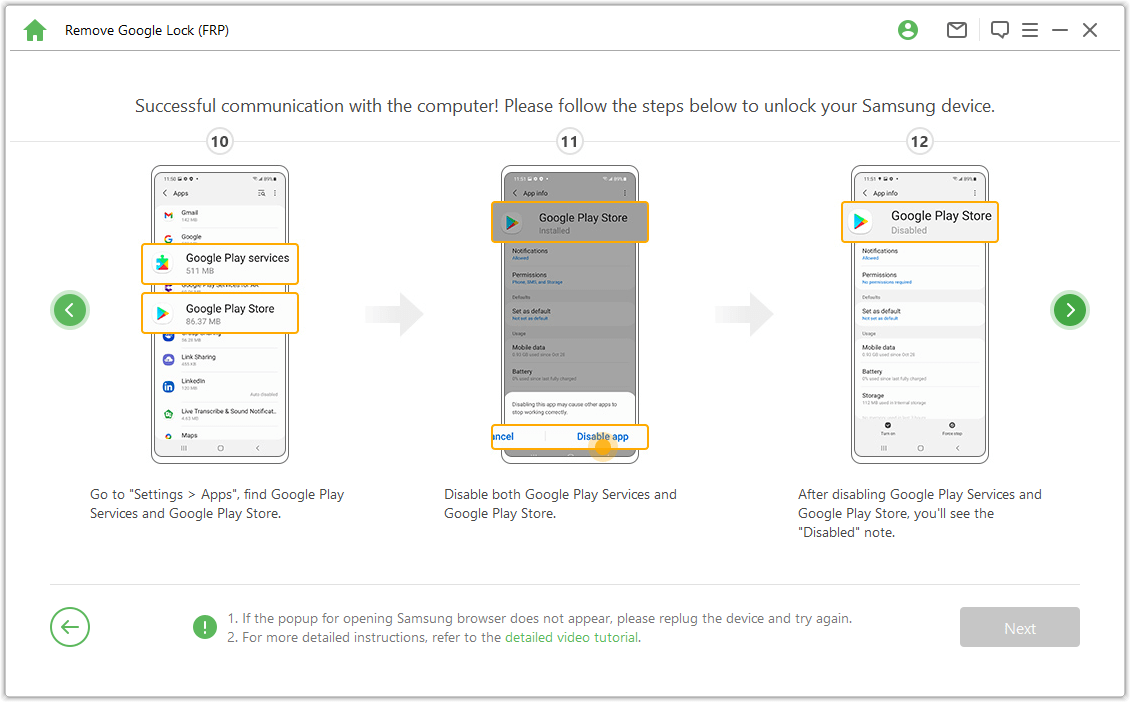
Go to "Settings > Apps", find Google Play Services and Google Play Store and disable both Google Play Services and Google Play Store. Then, you'll see a "Disabled" note here.
Go to "Settings > Cloud and Accounts > Manage Accounts > Add Account", and select "Google" to add a new Google account.
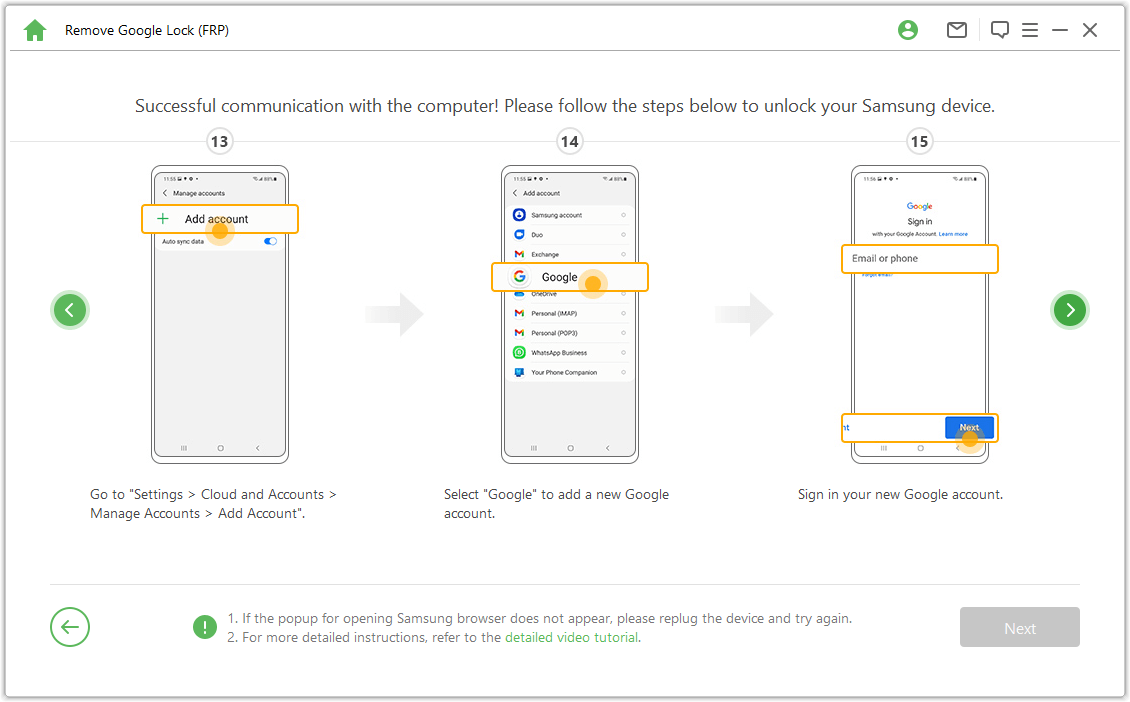
Go to "Lock Screen and Security >Other Security Settings > Device Administrators", click "Android Device Manager" and choose "ACTIVATE" it, and "Find My device". Then, go to "Settings > Apps", then choose "ENABLE" on Google Play Services and Google Play Store.
Last, restart your Samsung device and dollow the on-screen instructions to enter the device.
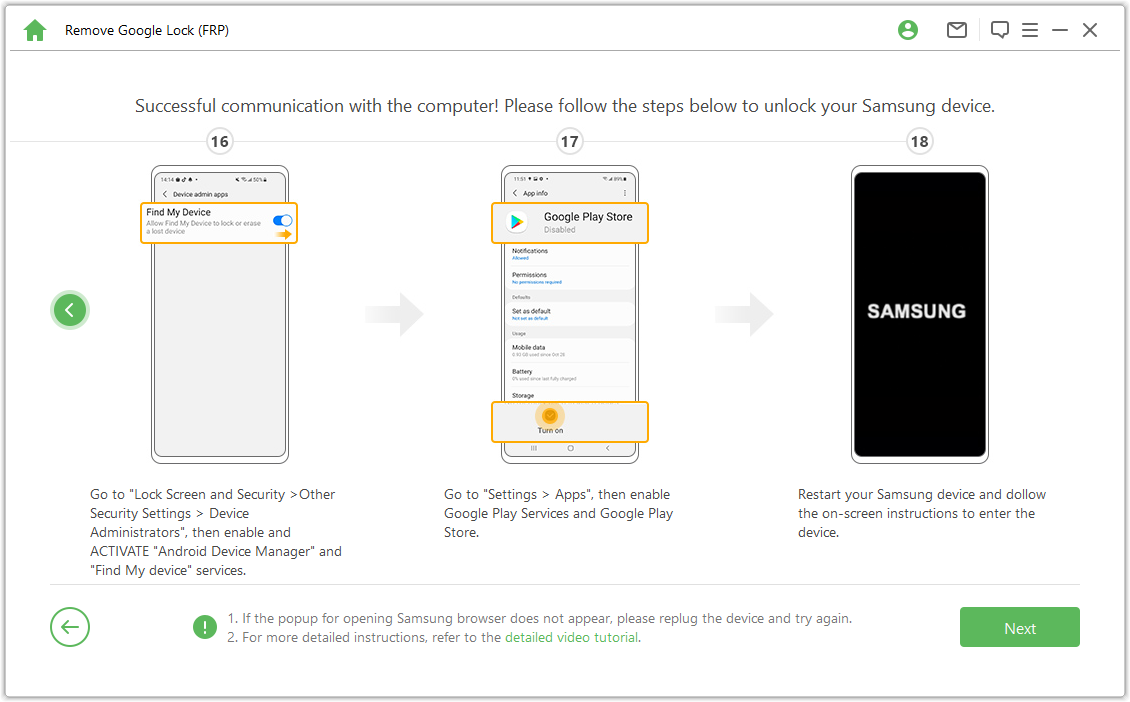
Step 4. Restart Samsung Device
After that, you can use a new Google account and enjoy all features on your device.
Note: If it needs a Pin code, use the pin code you just set to access your Samsung device.

Unlock Google FRP Lock - Advanced Mode
Step 1: Connect Your Device
After installing LockWiper (Android) on your computer, choose "Remove Google Lock (FRP)" and "Advanced Mode".
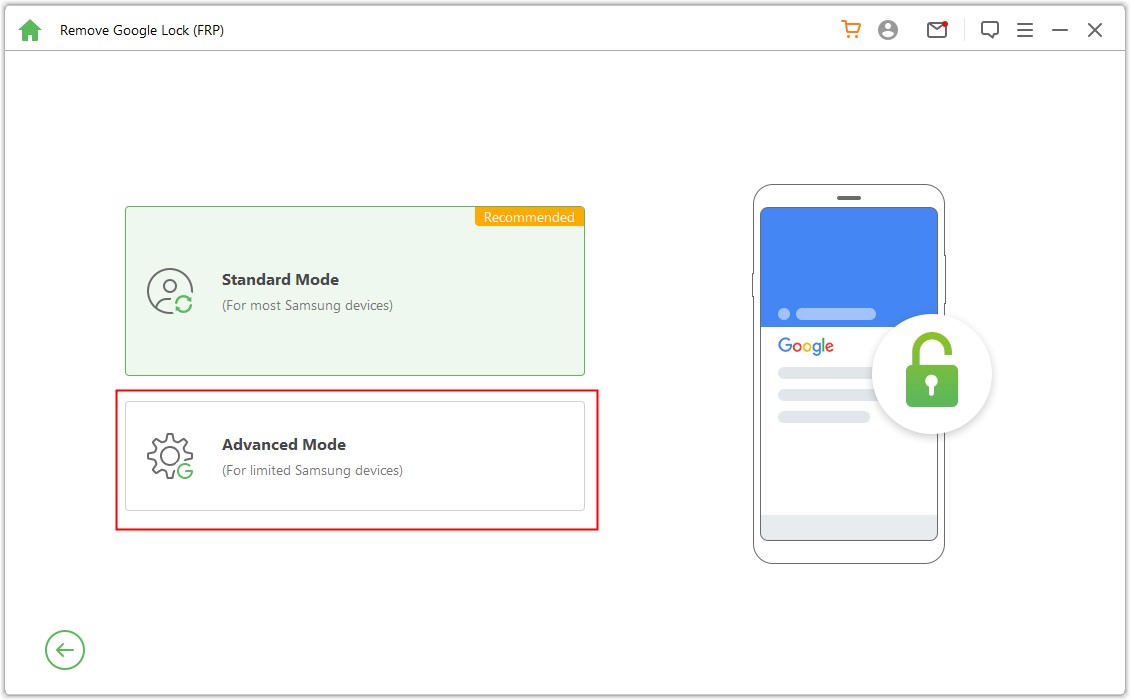
Click "Start" and connect your device to the computer via a USB cable..
.jpg)
Step 2: Select and Confirm Your Device Information
Your device information will be detected automatically. Correct the Device Name if it's incorrect, then click "Next" to proceed.
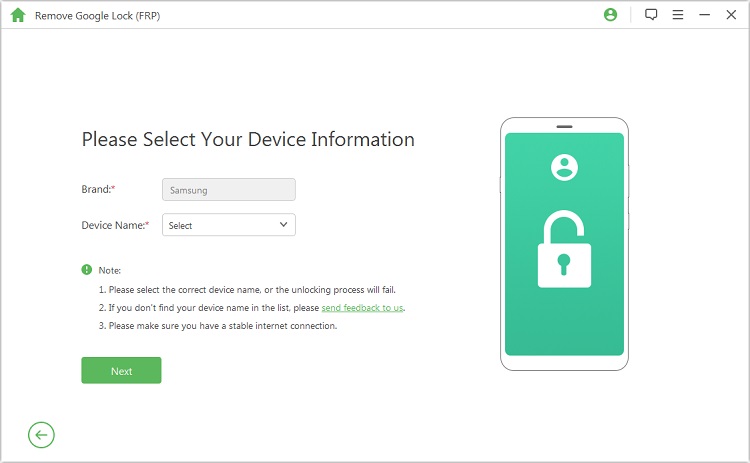
Follow the onscreen instruction to put your device into recovery mode and click "Next". Select your device PDA or input it manually and then select the right Country and Carrier. Click "Download" to continue.
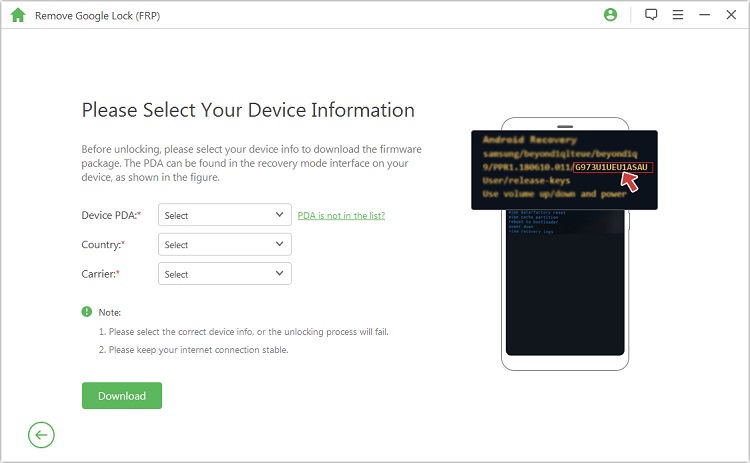
Step 3: Prepare Data Package for Your Device
After you confirm the PDA information, the program will start to search and download a data package for your device.
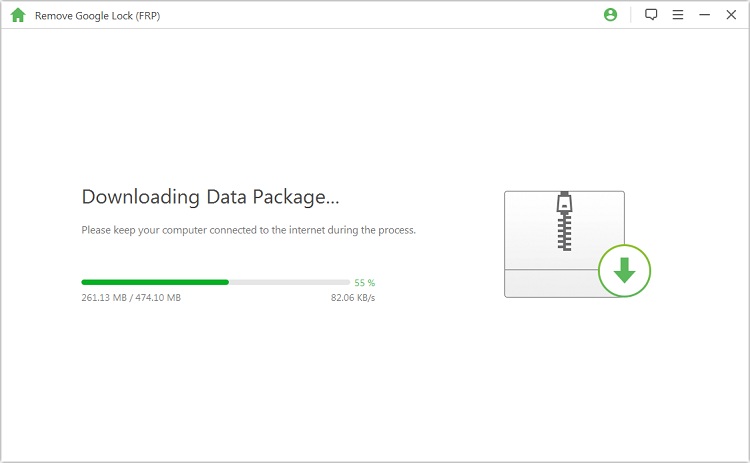
When the download finishes, click "Start to Extract" to unpack the package.
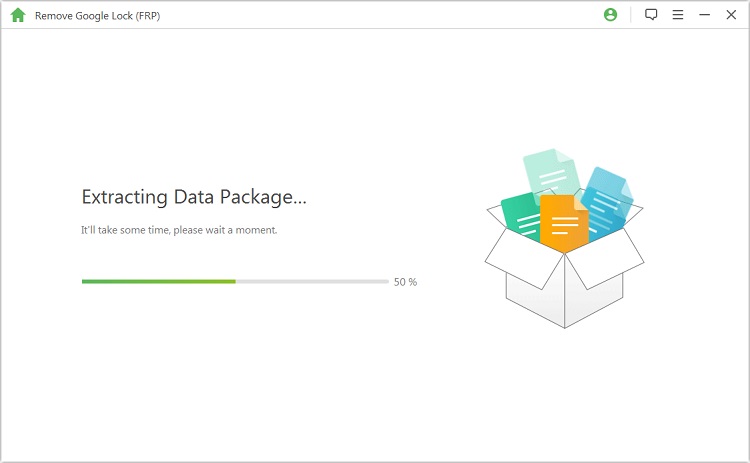
After the extraction, you can follow the onscreen steps to put your device into Downloading Mode and click "Start".
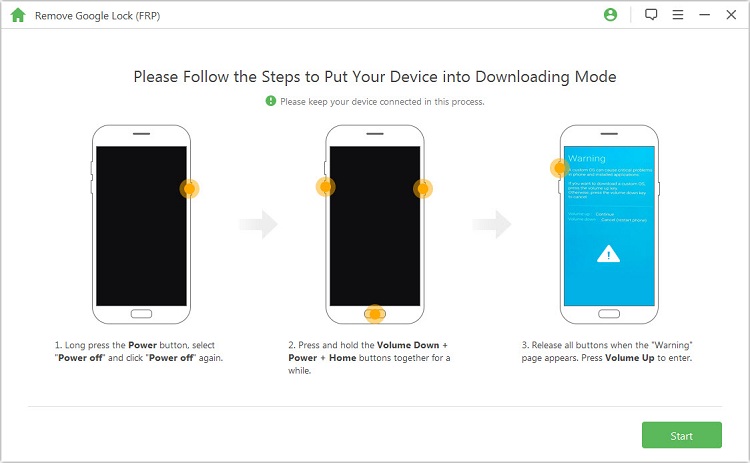
Confirm the step by entering "000000" to start the data installation process.
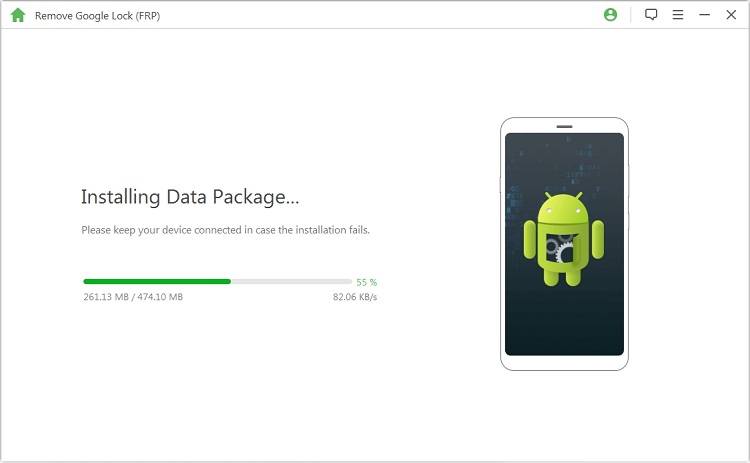
After the successful installation, follow the instructions to enable the "USB debugging" and "OEM unlock" on your device. Confirm the OEM unlock again.
.jpg)
Step 4: Prepare Firmware Package for Your Device
Follow the instructions to reset your device. After the reset, put your device into Downloading Mode again to download the firmware package for your device.
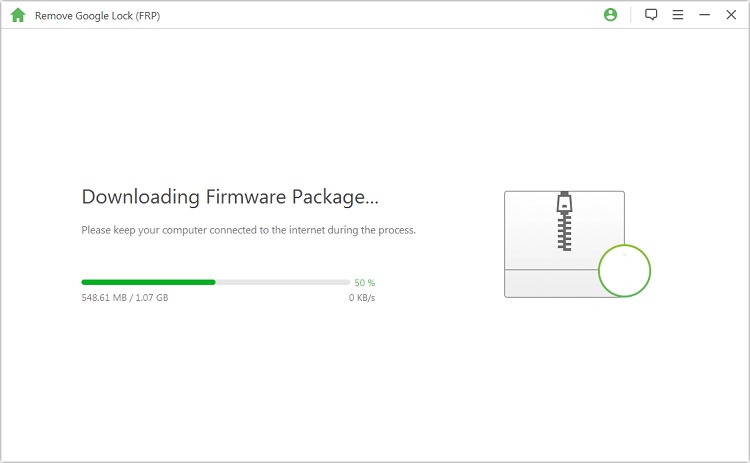
After the firmware package downloads successfully, click "Start to Extract" and it will prepare the firmware for your device.
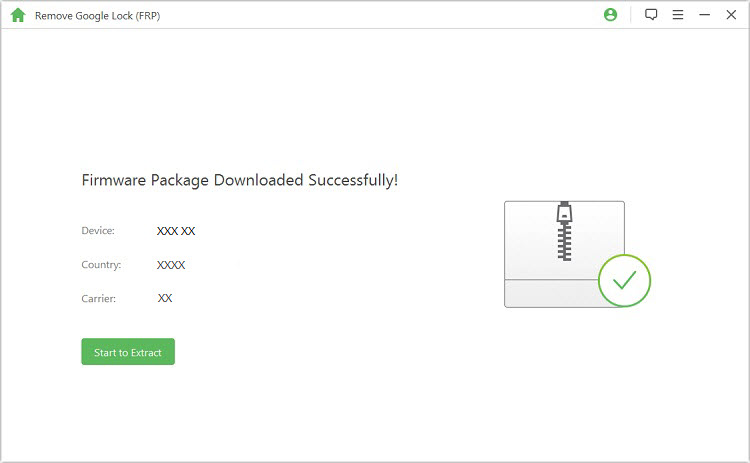
Step 5: Start to Unlock the Google Lock
The program starts to unlock the Google lock after the firmware extracts successfully. Please kindly wait for it to finish.
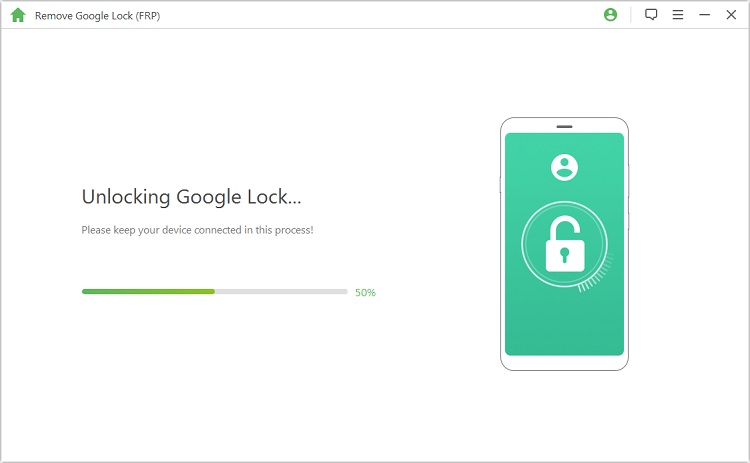
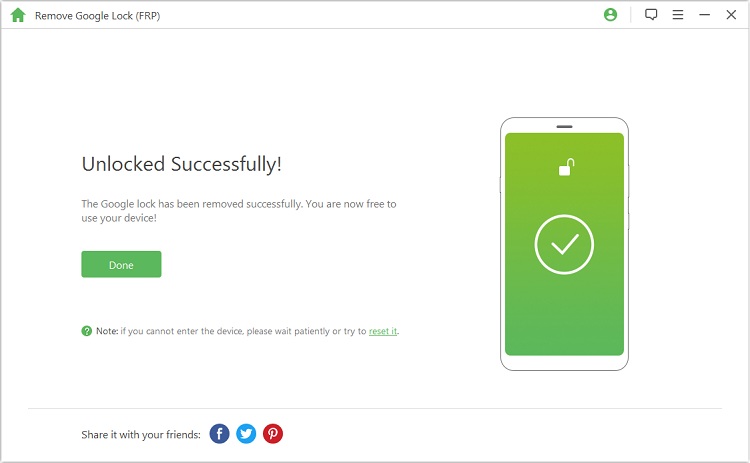
Congratulations! The Google lock has been removed from your device successfully. You can access your device now without verifying any Google account.
Part 2: Unlock Android Screen Passcode
Choose the "Remove Screen Lock" mode on the home page of the program. Here are two modes for removing the screen lock from your device: Remove without Data Loss for Samsung Devices only and Remove Screen Lock for All Android Devices.
Mode 1: Remove without Data Loss
Mode 2: Remove Screen Lock for All Android Devices
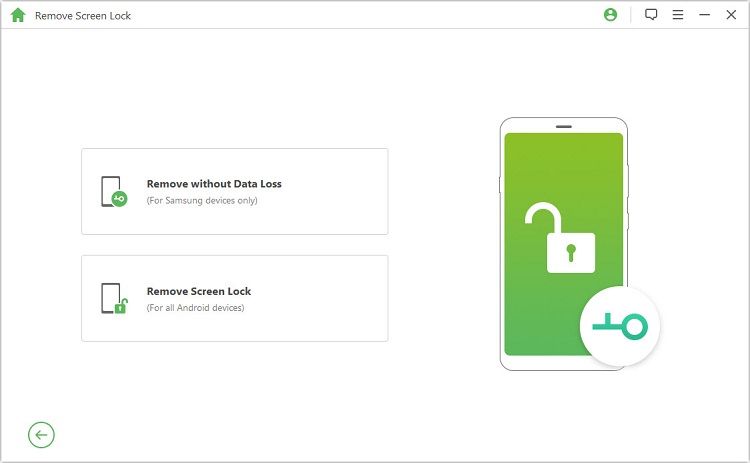
Mode 1: Remove without Data Loss
Step 1: Select and Confirm Your Device Information
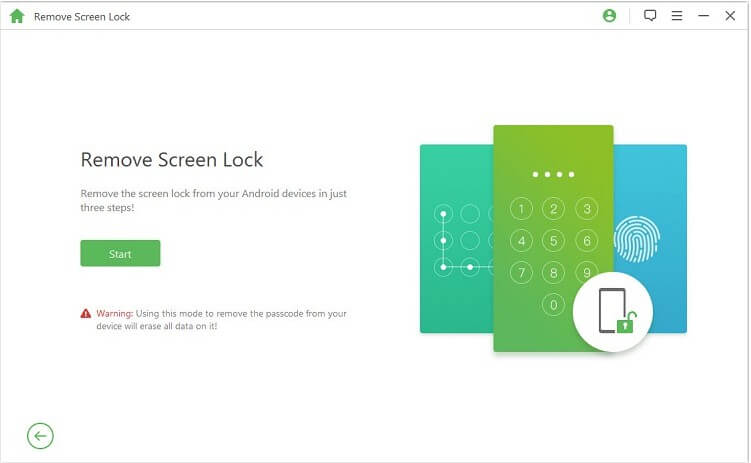
Choose "Remove without Data Loss" on the interface and click "Start" to begin the process.
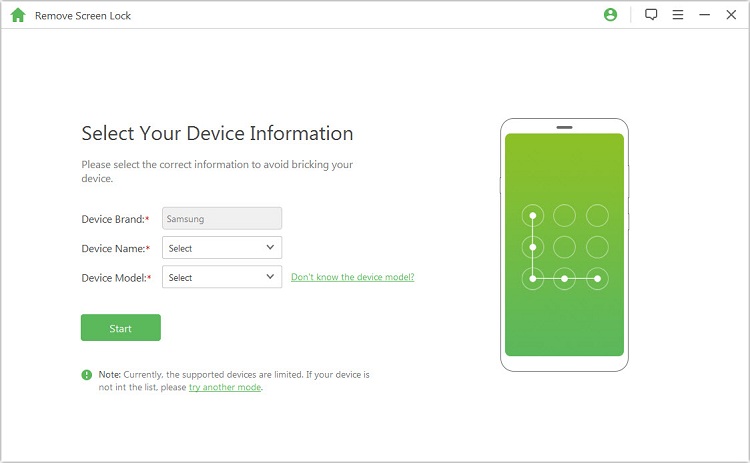
Select your device name, the model, click "Start", and confirm your device information and click "Confirm" to continue.
Note: If you don’t know your device model, click the link here to find out.
Step 2: Download Data Package
The program starts to download the data package for your device.
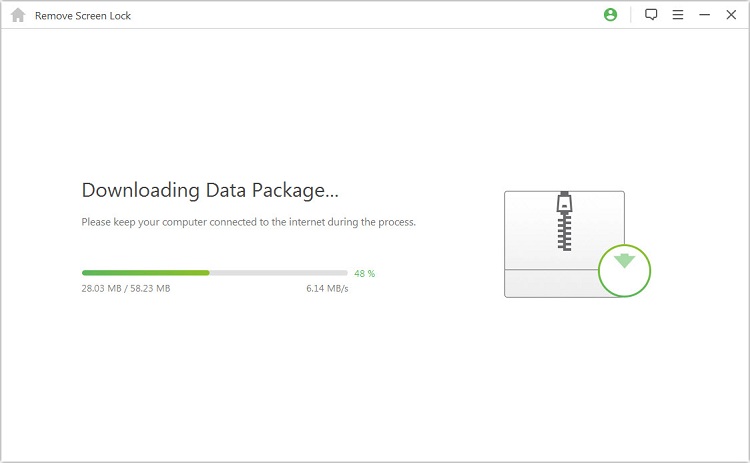
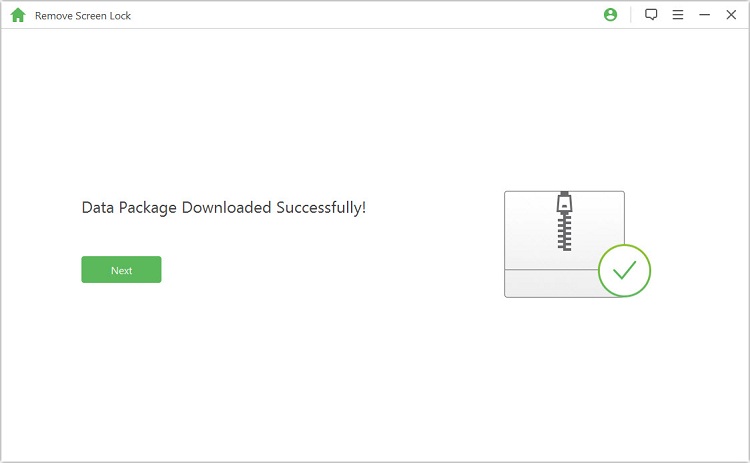
When it downloads successfully, click "Next".
Step 3: Connect and Set Up Device
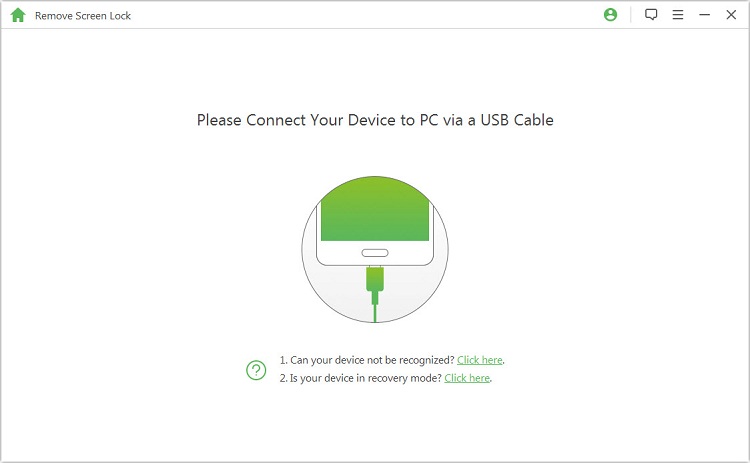
Connect your device to the computer via a USB cable.
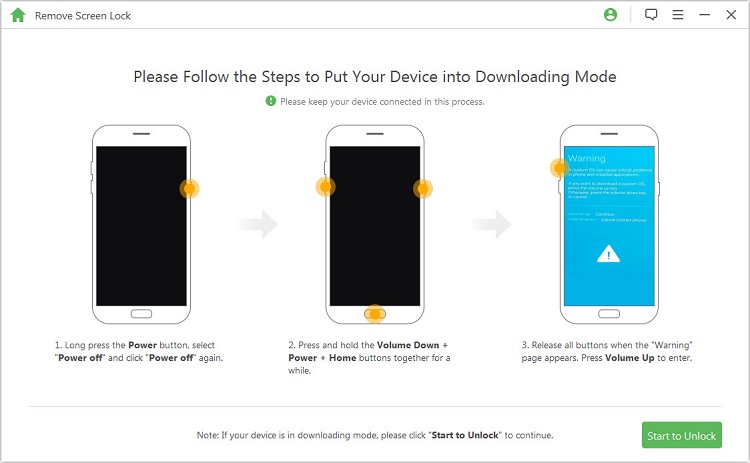
Next, please follow the steps here to put your device into Downloading mode. When your device is in Downloading mode, click "Start to Unlock".
Step 4: Start to Remove without Data Loss
The program starts to remove the screen lock on your device.
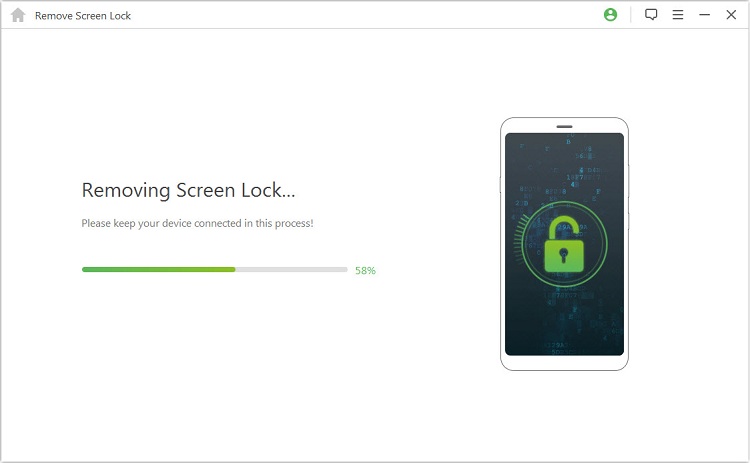
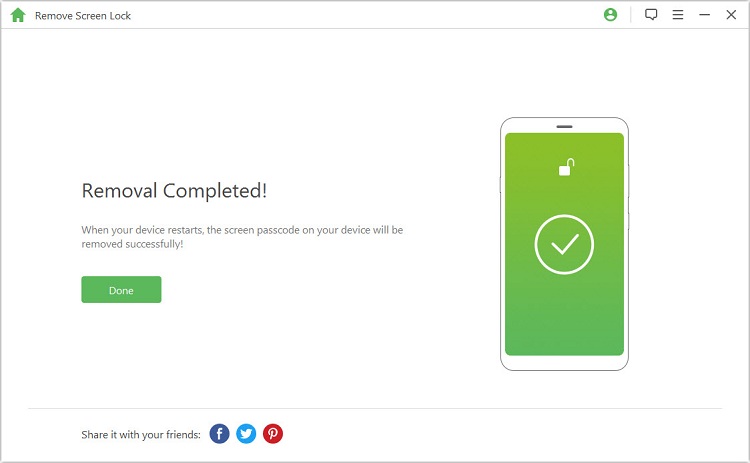
Done! The screen lock on your device has been removed successfully.
Mode 2: Remove Screen Lock for All Android Devices
Step 1: Connect Your Device
Download and launch iMyFone LockWiper (Android) on your computer. Choose the "Remove Screen Lock" mode and then click "Start" to begin the process.
Note: In this mode, the device data will be erased after removing Android lock screen.
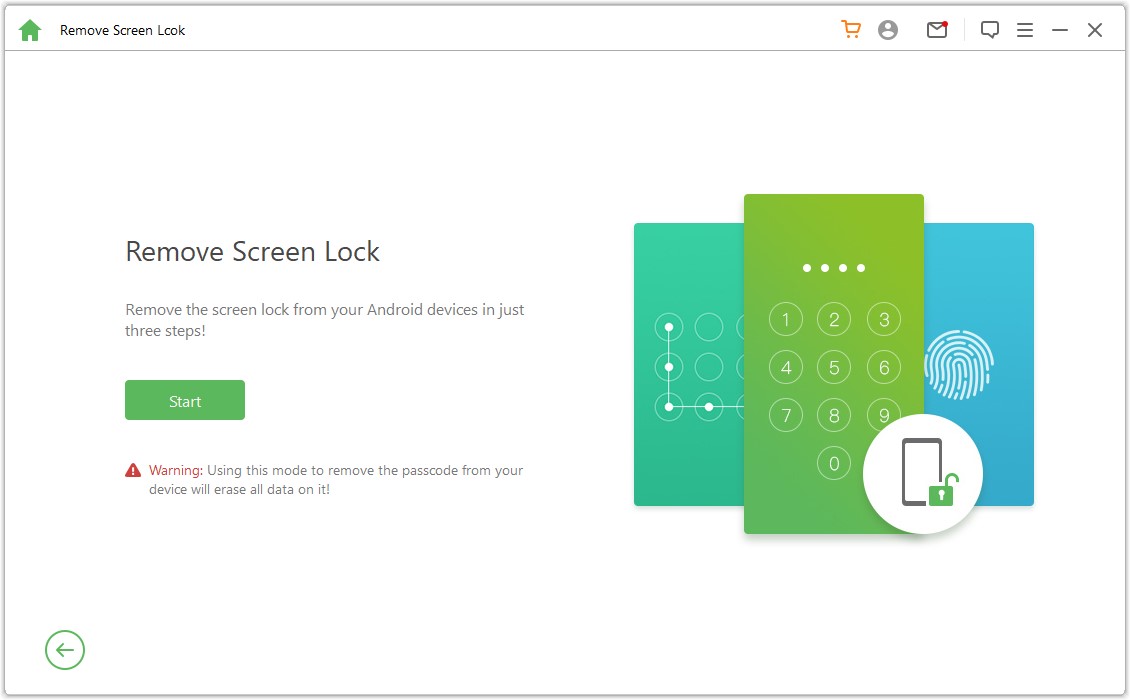
Connect your device to the computer via a USB cable. It then loads up your device information automatically.

Step 2: Confirm Your Device Information
The program detects your device information automatically. Confirm that this information is accurate and click "Start to Unlock" to continue.
Note: If the information is incorrect, you can correct it manually.
.jpg)
Wait a few minutes to download and send the data package to your device.
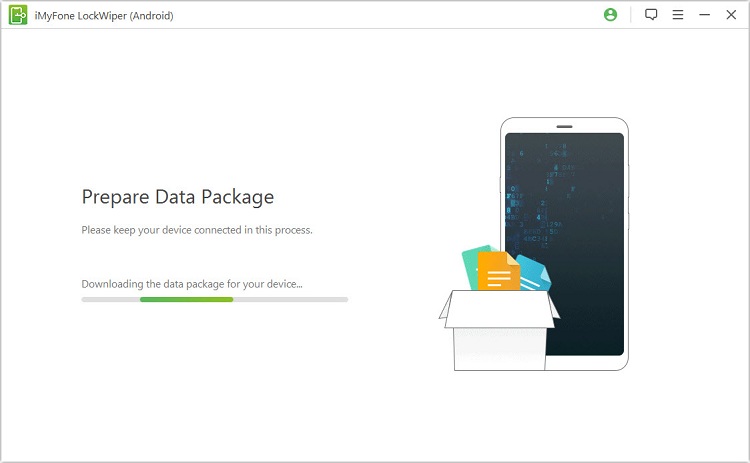
Step 3: Start to Remove the Passcode
Please follow the on-screen instructions to reset your device and wait for it to remove the screen lock passcode from your device.
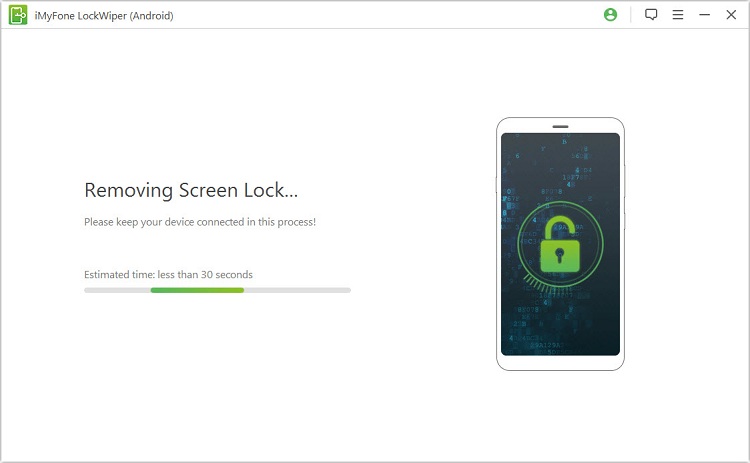
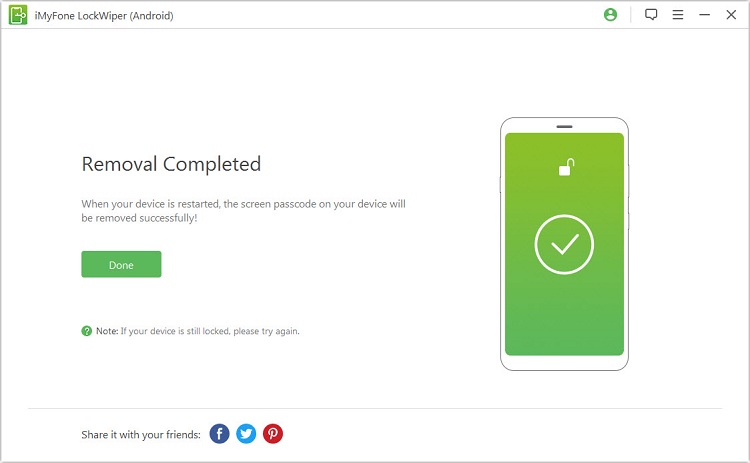
When the process is done, you have removed the passcode from the device successfully!
Still Need Help?
Go to Support Center >


