With social media – Snapchat, Twitter, Instagram – taking photos have become mainstream. However, out of a hundred pictures, a high percentage turns out not so cool and hence deleted. But where do these files go?
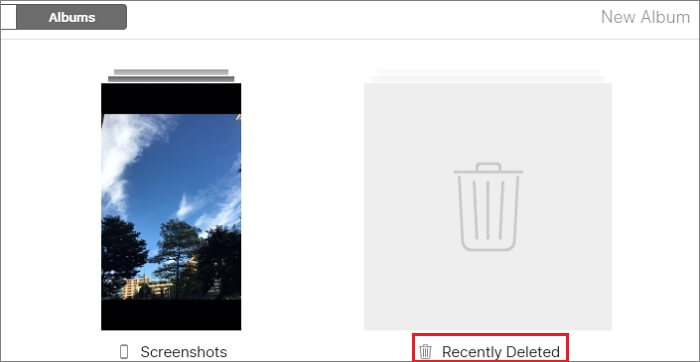
A while ago, Apple started a ‘Recently Deleted Folder’ where deleted pictures are stored for a while. The essence is to serve as a form of Recycle Bin where users can get back pictures that were mistakenly deleted. Additionally, these pictures are kept for 30 days before they are deleted from the ‘Recently Deleted Folder’.
How to Get Rid of Deleted Photos from iPhone
Photos remaining in recently deleted folder are occupying unnecessary space and should be removed. To remove them, follow the under listed steps:
Step 2. Scroll down to and select the ‘Recently Deleted Folder’
Step 3. On the top right-hand corner, tap ‘Select’
Step 4. Tap ‘Delete All’ if you want to delete all pictures or manually select the pictures you want to delete
Step 5. After selecting the photos, tap ‘Delete’ at the bottom left corner
Step 6. On the ensuing prompt, confirm the deletion.

There’s a scary truth about the pictures deleted from the recently deleted folders and it’s the fact that these pictures are not deleted permanently. While they are no longer there technically, they can still be recovered using powerful data recovery tools.
The privacy risks inherent in this are attenuating in many regards and should therefore be avoided at all cost. And the only way to mitigate these risks is to delete the pictures permanently.
How to Permanently Erase iPhone Photos
A highly recommended way to achieve this is using iMyFone Umate Pro or iMyFone Umate Pro for Mac to delete photos permanently. Umate Pro is an iPhone utility with a comprehensive list of features and functions for iPhone users inclusive of managing photos on iPhone.
Umate Pro erases photos without any trace of the said photos thus preventing such photos from being recovered by anyone no matter the tool or technology used. To erase photos using Umate Pro, follow the steps below:
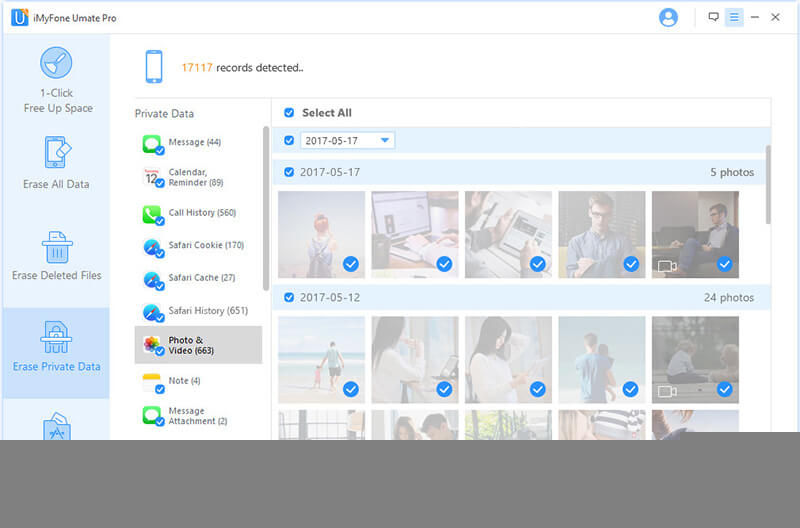
Step 2: Select ‘Erase Private Data’
Step 3: Just beneath the ‘Scan’ button, select the ‘Photos’ option
Step 5: Select the pictures you want to erase and click on ‘Erase Now’
Step 6: This will move these pictures to permanently from your device

Other iPhone Photo Management Option sof Umate Pro
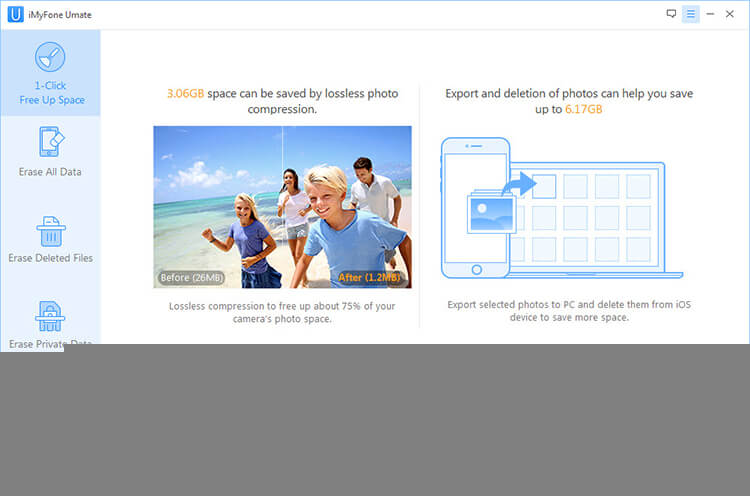
- Export Photos: You can decide to not delete your photos from your device and simply choose to have a copy stored on your PC. The export option helps in this regard. Making a copy of your photos and helping you keep it safely on your PC.
- Compress Photos: iPhone photos are large by design. With Umate Pro however, you can reduce the size of your photos without losing their quality. Umate Pro reduces the size to 25 percent of the initial size thus freeing up a large chunk of space in the process.
- Delete in Bulk: Mass select and delete all your photos at once instead of selecting them one after the other as obtained when deleting from the device.
- Erase previously deleted photos: As mentioned earlier, deleted files can still be recovered. Use this function to search your device for previously deleted files, which you can in turn delete permanently.
- erase WhatsApp and WeChat photos:Remember all the photos you receive and send from your Whatsapp and WeChat? They are stored in the Whatsapp cache and continue to occupy storage space. Use Umate to delete these hidden photos and free up space for more important things.


 March 12, 2024