User Guide of iMyFone D-Back Data Recovery
iMyFone D-Back is a multifunctional data recovery and repair software that can easily help you fix lost, deleted, or damaged data on your computer, iPhone, and Android devices. Whether it's accidental deletion, device crash, system update issues, black screen or white Apple loop, iMyFone D-Back can help you retrieve lost data.
Mode 1: Download and Install D-Back
Step 1: Download D-Back
iMyFone D-Back data recovery is compatible with iOS device, Android device, Windows and Mac OS; you only need to download one software to recover data from all your devices. Click "Download Free" button to download D-Back software.
Step 2: Install D-Back
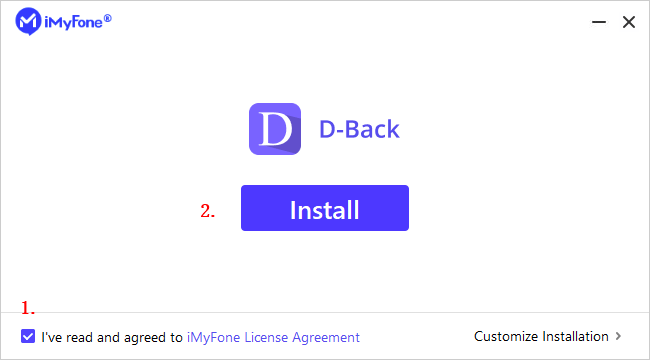
Double-click the downloaded file and follow the guide to complete the installation. Once you click on the "Install" option, it starts installing. Wait for a few minutes until it has completely installed, then launch it on your computer.
Step 3: Choose the Data Device for Recovery
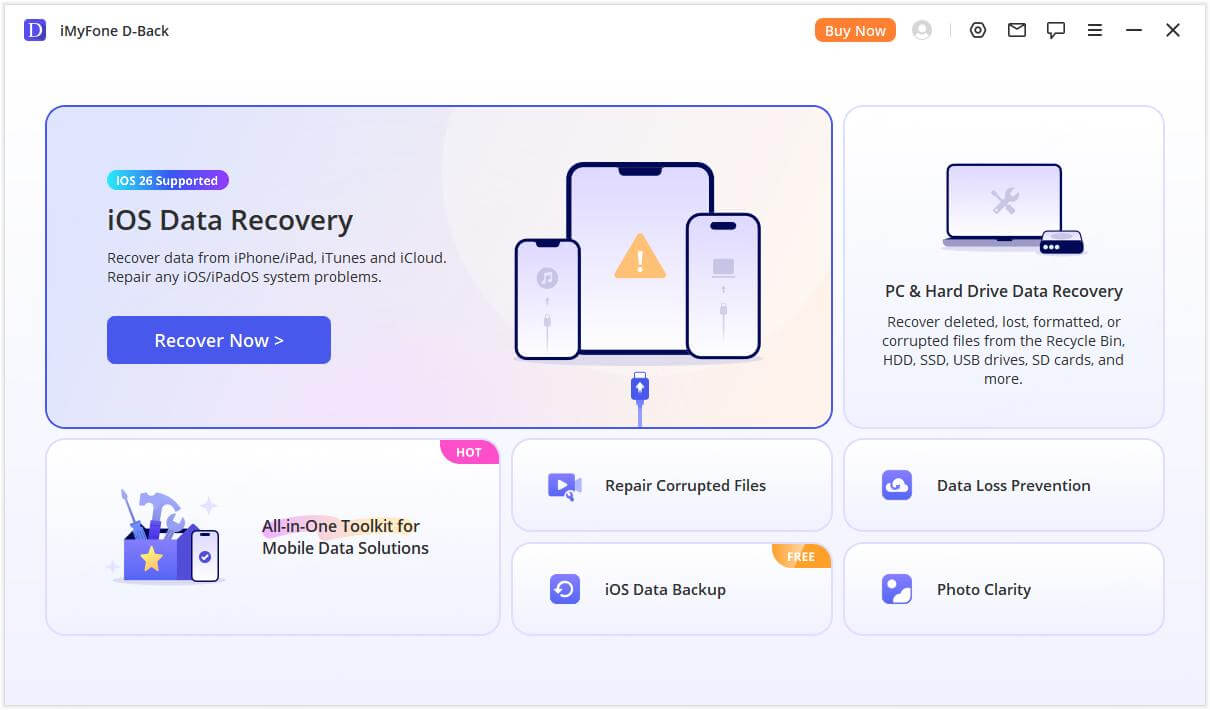
1.After downloading and installing iMyFone D-Back, open the program on your computer.
2.Then, select data device you want to restore from the options displayed on the main interface. For detailed instructions, please click on the content on the left.
AI repair
Mode 1: File Repair
Step 1: Select File Repair Mode
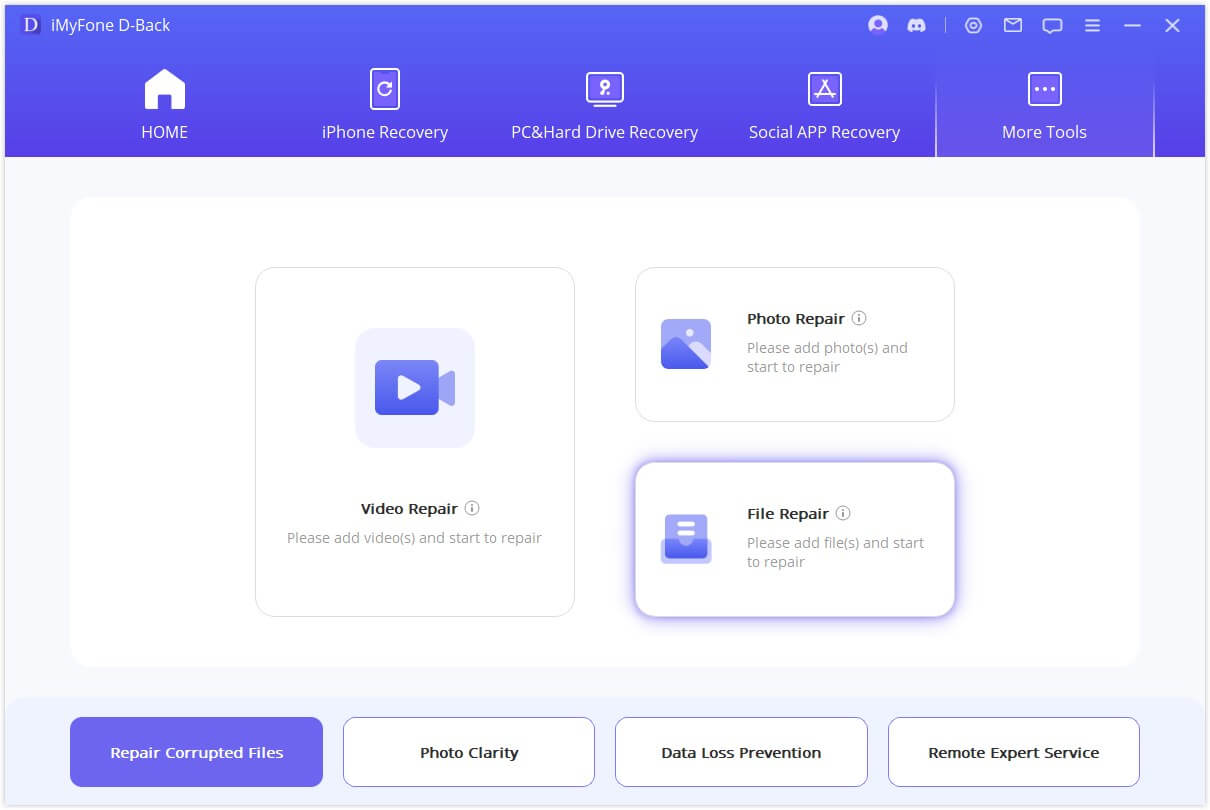
Begin by installing and opening D-Back Ai Repair on your PC. Opt for "File Repair" from the on-screen options and click the "Add Files" button. This action will prompt a browser window to open, directing you to the location where the corrupted file is stored. You have the option to select multiple documents and load them into Ai Repair.
Step 2: Start File Repair
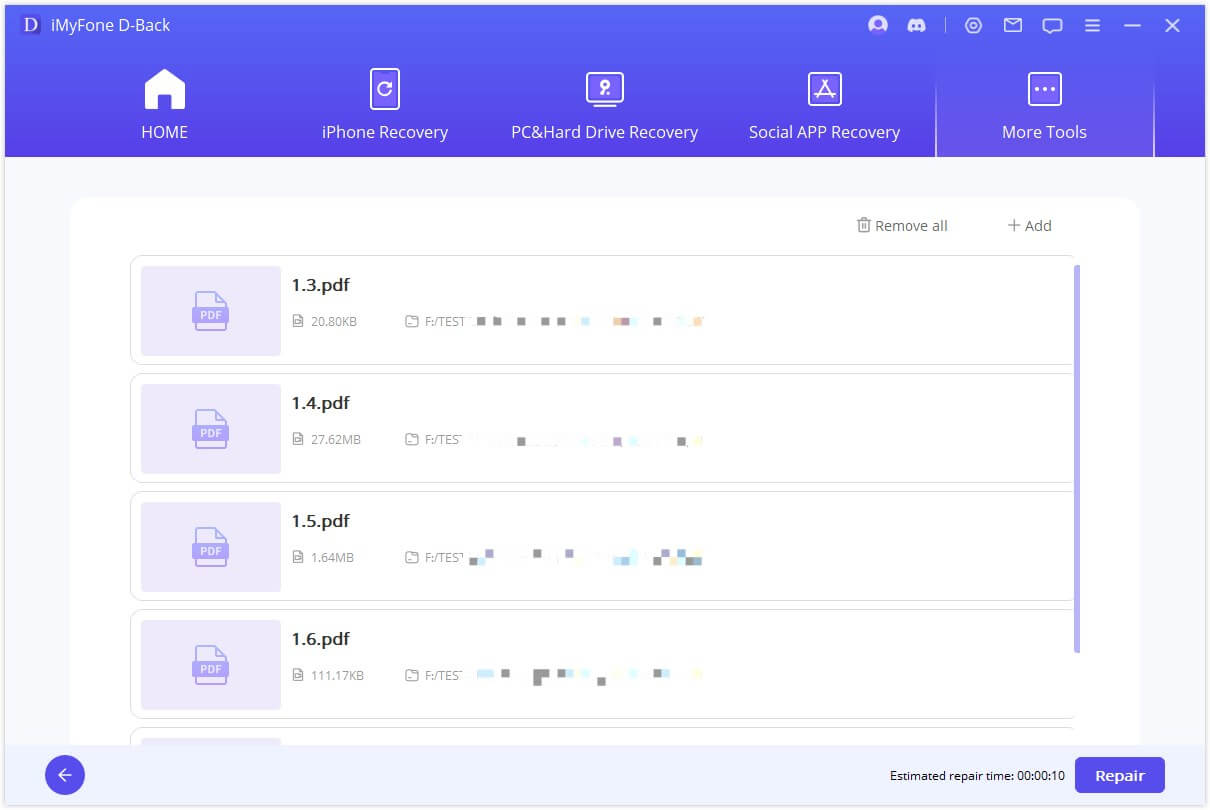
Once you choose Word, Excel, or PowerPoint files from your PC, the program will load them and showcase the progress on the screen.
Step 3: Complete File Repair
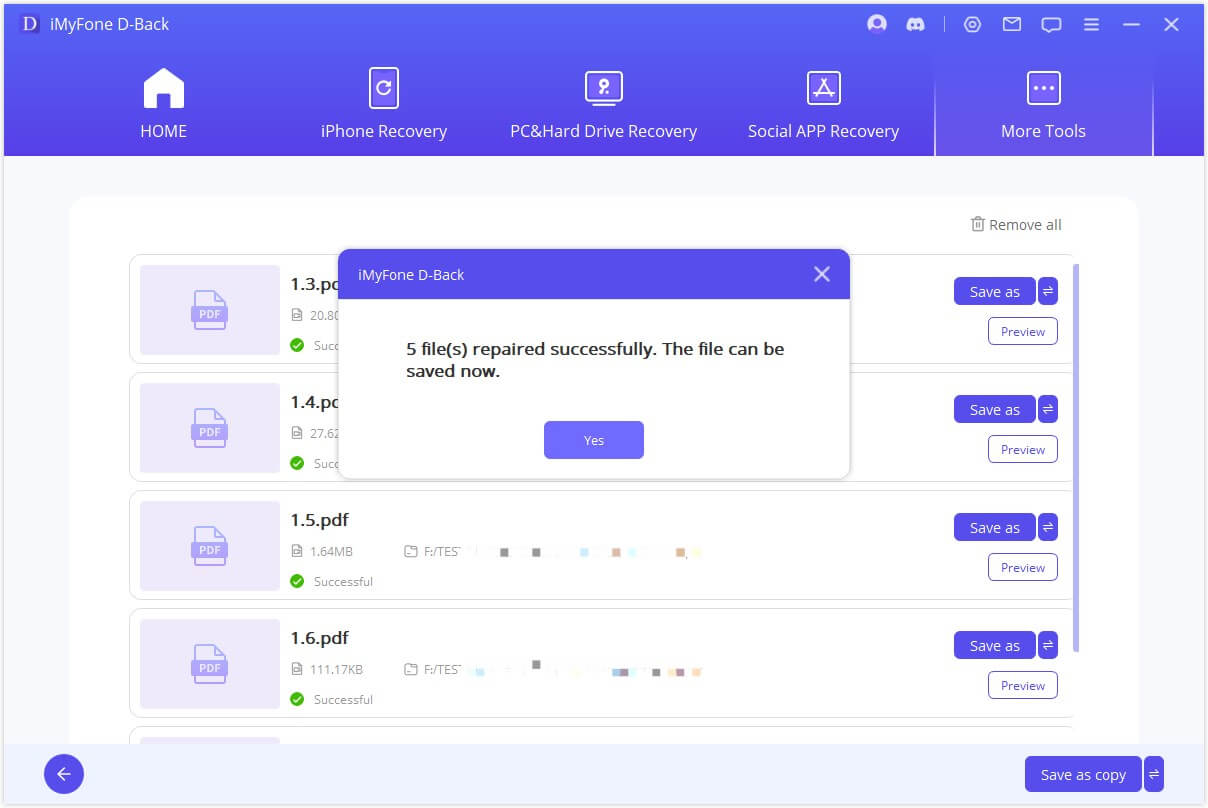
The application will examine the loaded document and address various minor or major issues. You can pause the repair process at any time. Once the file repair process is finished, you'll be notified by a message on your screen.
If the repair was successful, you'll see a happy little checkmark next to the file name. That means your file is good to go!
Step 4: Save the Repaired File
Upon completion of the repair process, click the "Save As" button at the bottom to save a single file. Navigate to the location where the repaired files are stored on your Windows PC to access them.
Mode 2: Video Repair
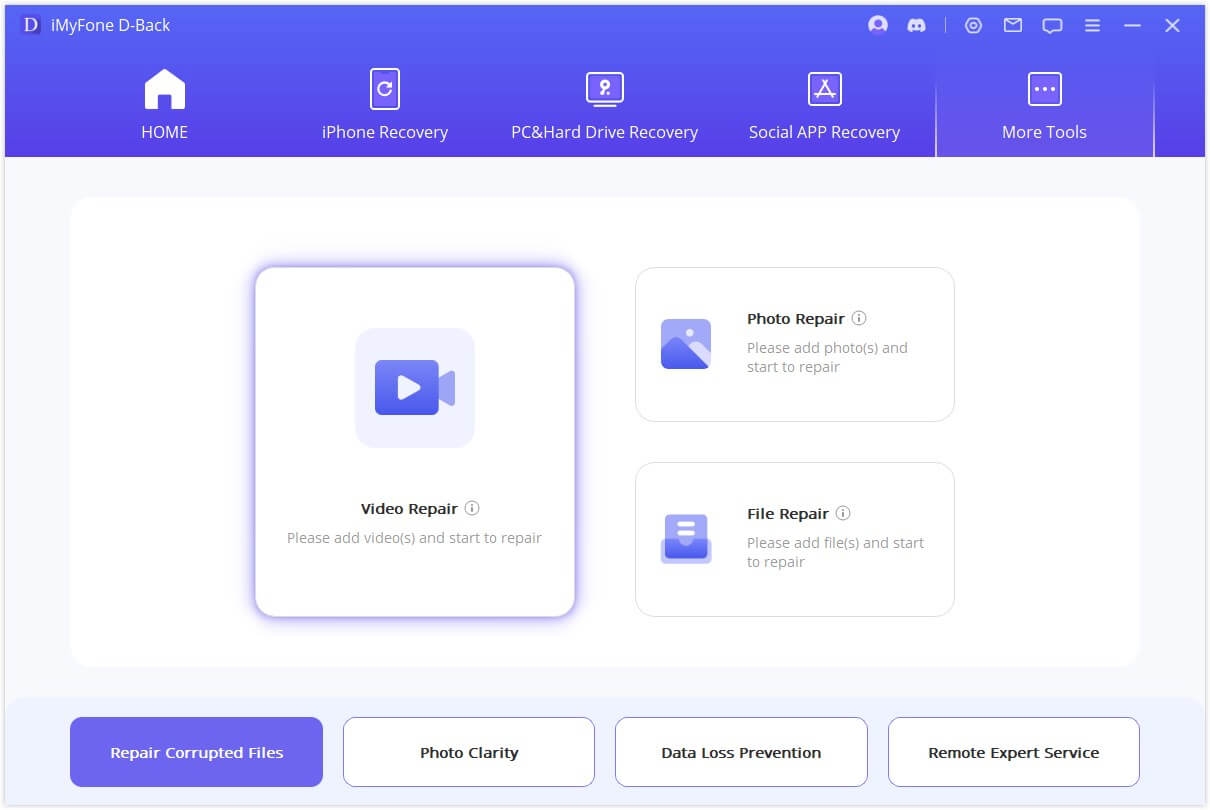
Step 1: Select Video Repair Mode
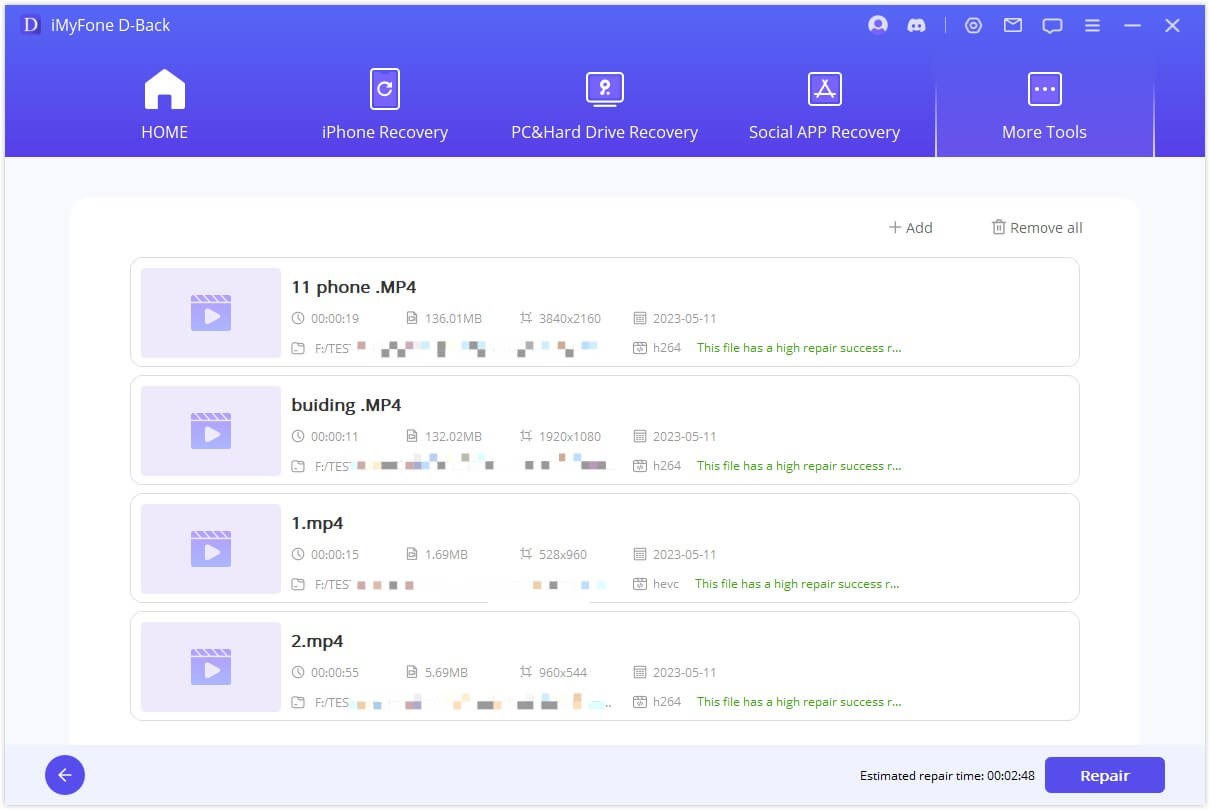
Click the "Video Repair" mode and select the "Add video" button. The repair tool now supports various video formats, such as MP4, MKV, FLV, MXF, AVI, MTS, and M2TS. It can repair multiple videos of different formats simultaneously. Once the upload is complete, you'll see the file name, size, length, and resolution of the damaged videos on the user interface.
Step 2: Start Repairing Video
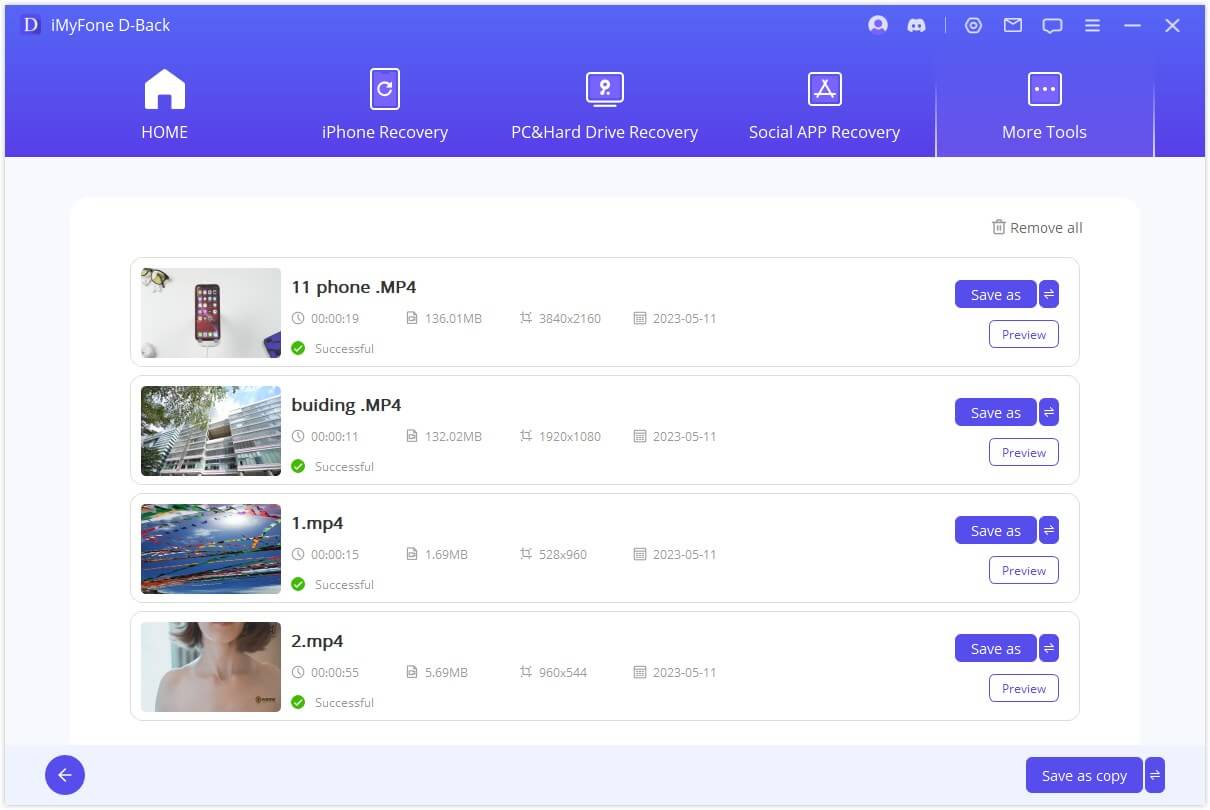
Click the "Start Repair" button to start repairing the videos. When the repair process is complete, a pop-up window will show that the videos have been repaired successfully.
Step 3: Save the Repaired Video
Click the "Save" or "Save All" button to save the repaired videos.
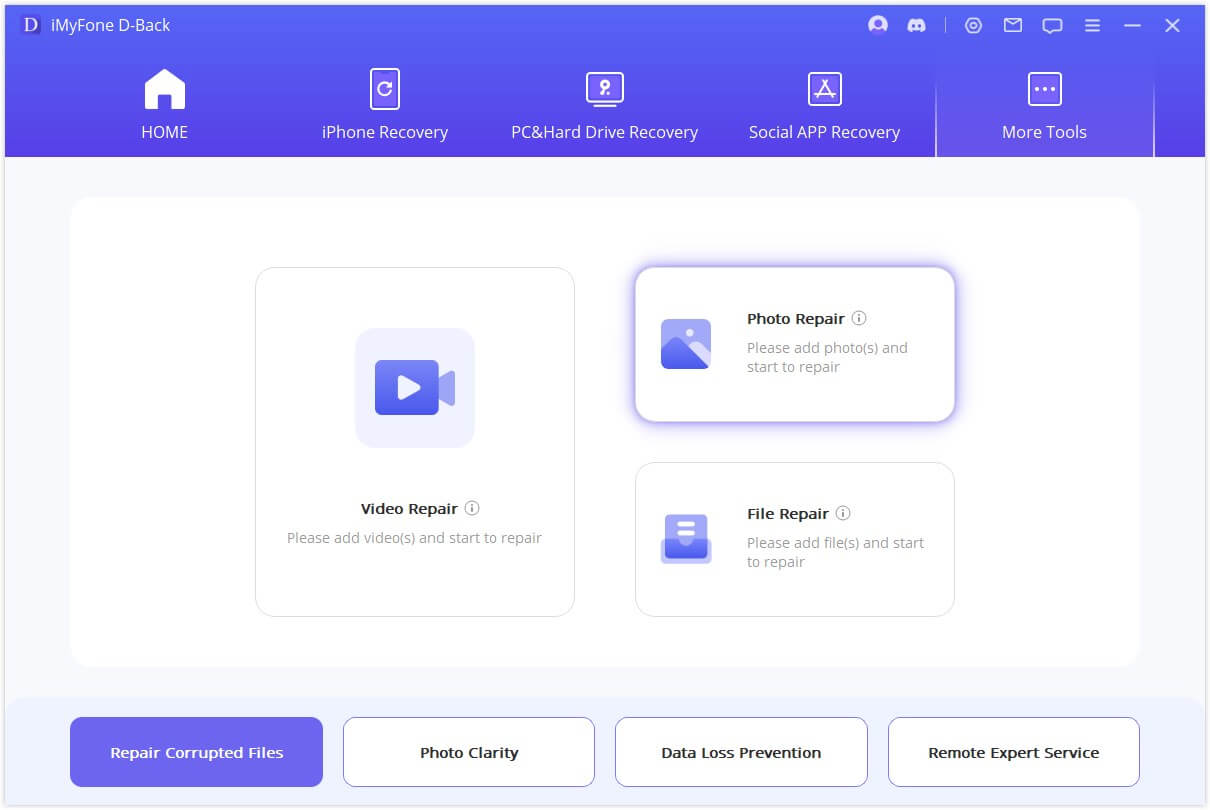
Mode 3: Photo/Picture Repair
Step 1: Select Photo Repair Mode
Click on the picture icon or the "Add photo" button to upload photos that need repair. Photo Repair now supports JPG, JPEG, and GIF photo formats, allowing you to repair multiple photos of different formats simultaneously. Various issues, including pixelation, grey images, and incorrect colors, can be addressed. Once uploaded, you'll see the thumbnail and other information about the photo, such as size and resolution.
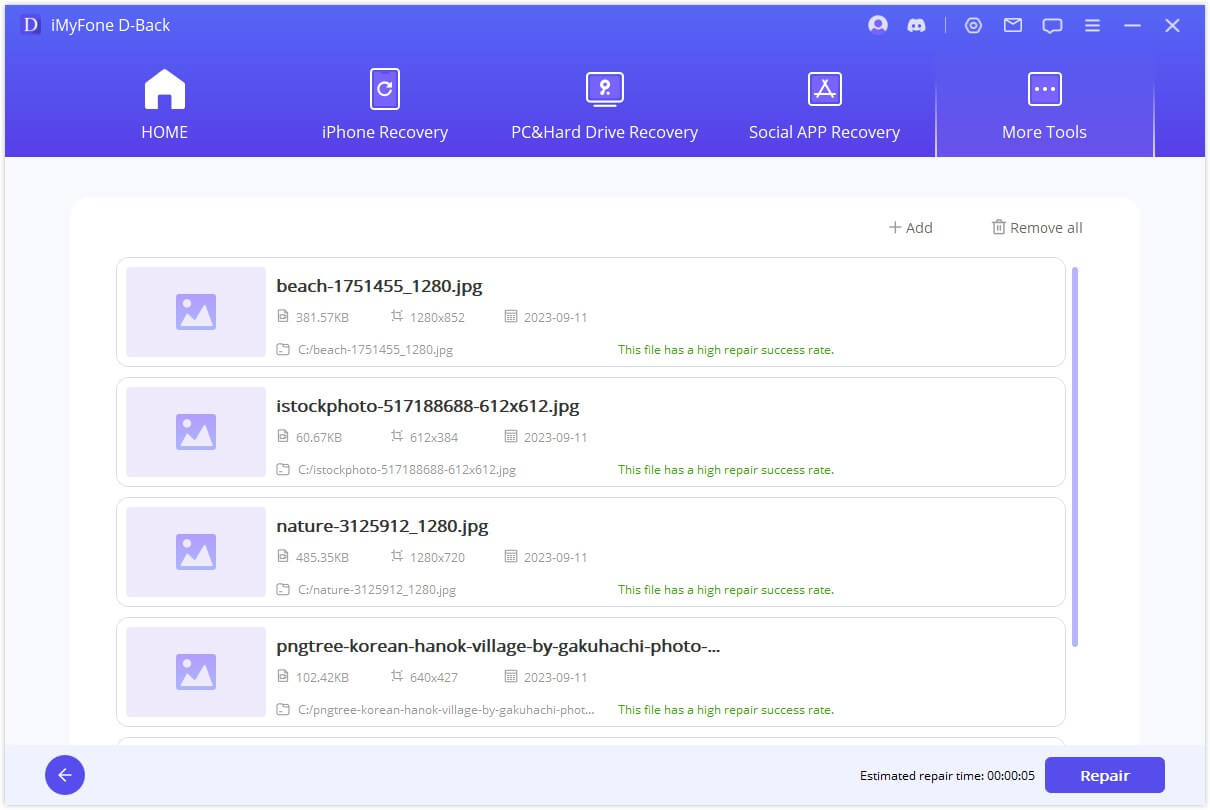
Step 2: Start Repairing Photo
Click "Repair" and wait for the process to complete. The tool will inform you of the results after the entire process.
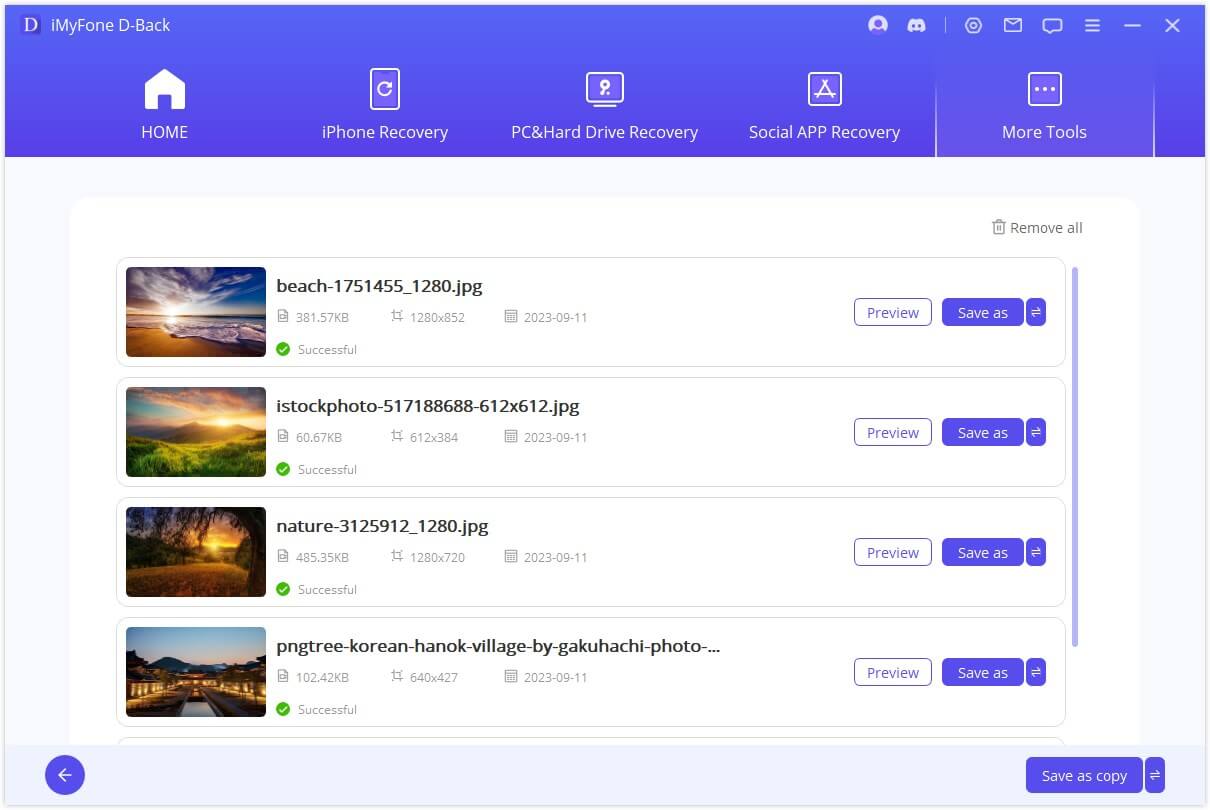
Step 3: Finish Photo Repair
Save the repaired photos to the desired location after successfully repairing the photo.
Mode 4: AI Enhancement
Step 1: Select Photo Clarity Mode
Begin by launching D-Back and selecting the "More Tools" button. Then, choose the “Photo Clarity” mode.
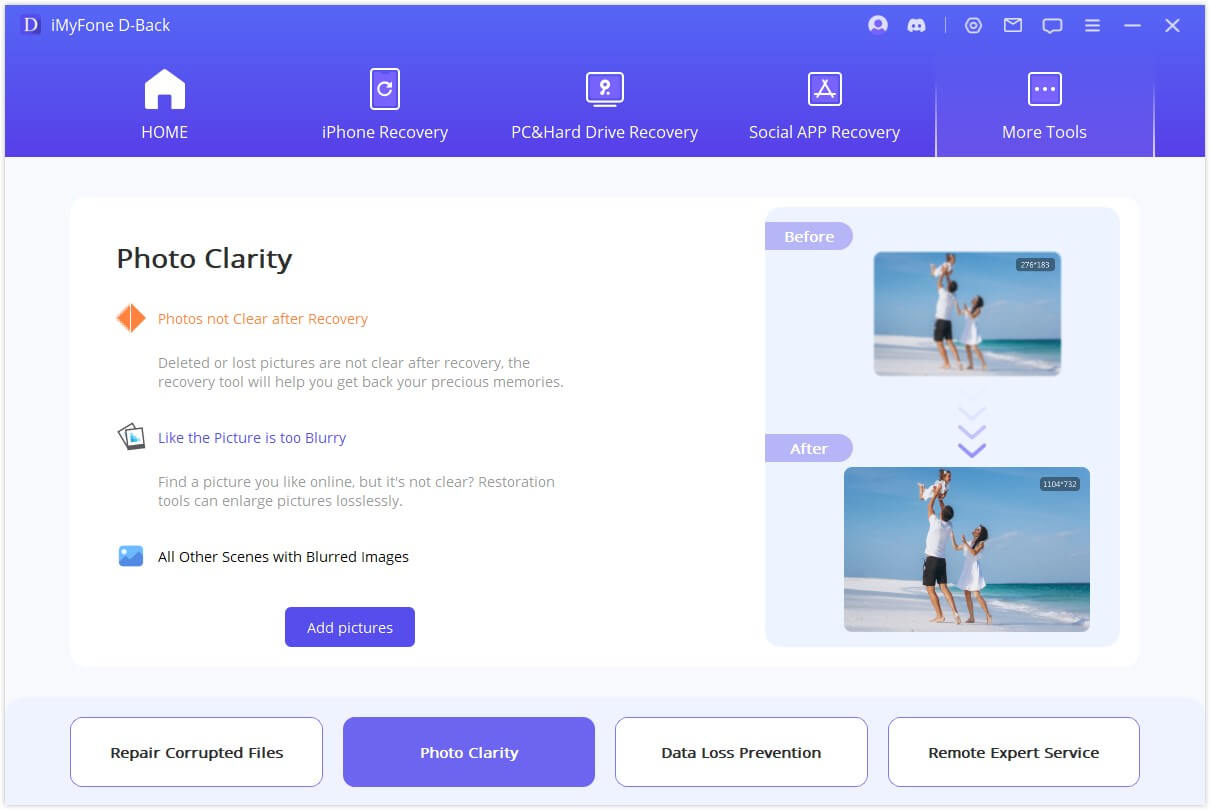
Step 2: Select the Image to Start Enhancing a Blurry Photo
Choose the photo or image you want to enhance from your PC. The program will load the selected files and display the progress on the screen.
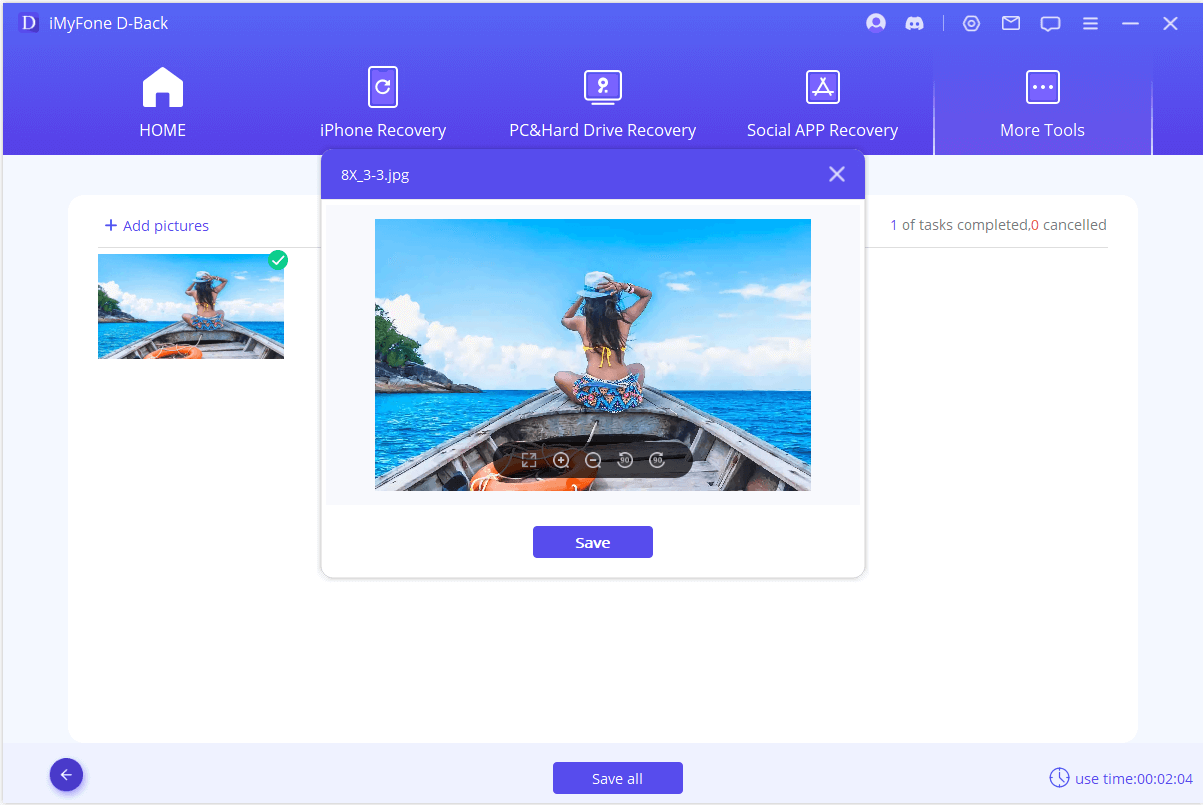
Step 3: Successfully Clarify Photo
After a short while, your blurry photo or image will be clarified. You can then save the enhanced photos to your preferred location.


